


Hueco Tanks, TX is the world standard for bouldering grading. AKA a V5 at hueco is how difficult a V5 everywhere should be.
The past 5 weekends (6 with Oklahoma) I've been off living the dream climbing around the southern United states and taking pics as I go of myself and friends crushing rocks. I had planned to go to Oklahoma with Evan, Jack, and Moe the weekend after I came back from Hueco Tanks to possibly establish some new boulders on Mount Scott. Myself having the most experience with outdoor climbing and having visited the Standard for bouldering (Hueco Tanks) the previous weekend, I had a pretty good idea on how the routes should be graded.
We set up camp after the quick 3ish hour drive to the Wichita Wildlife preserve camp area, and messed around climbing on some trees lit by head-lamps. The psych was high, none of us had ever gotten an "FA" (First Ascent) on any rock climb, so we didn't really know what to expect. Basically the basics of establishing an outdoor boulder are:
- Clean off the route: Remove any branches or other foliage and brush off dirt and loose rock
- Climb every move of the route from start to finish and "Top Out" the boulder meaning stand on top of it when finished
- Name & Grade the route: The person who gets FA on a route also gets the privilege to name it. Then hopefully he has friends around to also climb it, and they all agree on a "V Scale" grade such as V3
- Lastly you take pictures of the boulder and GPS mark it for when you put it's location on "Mountain Project" (a website of all the climbing routes that exist).
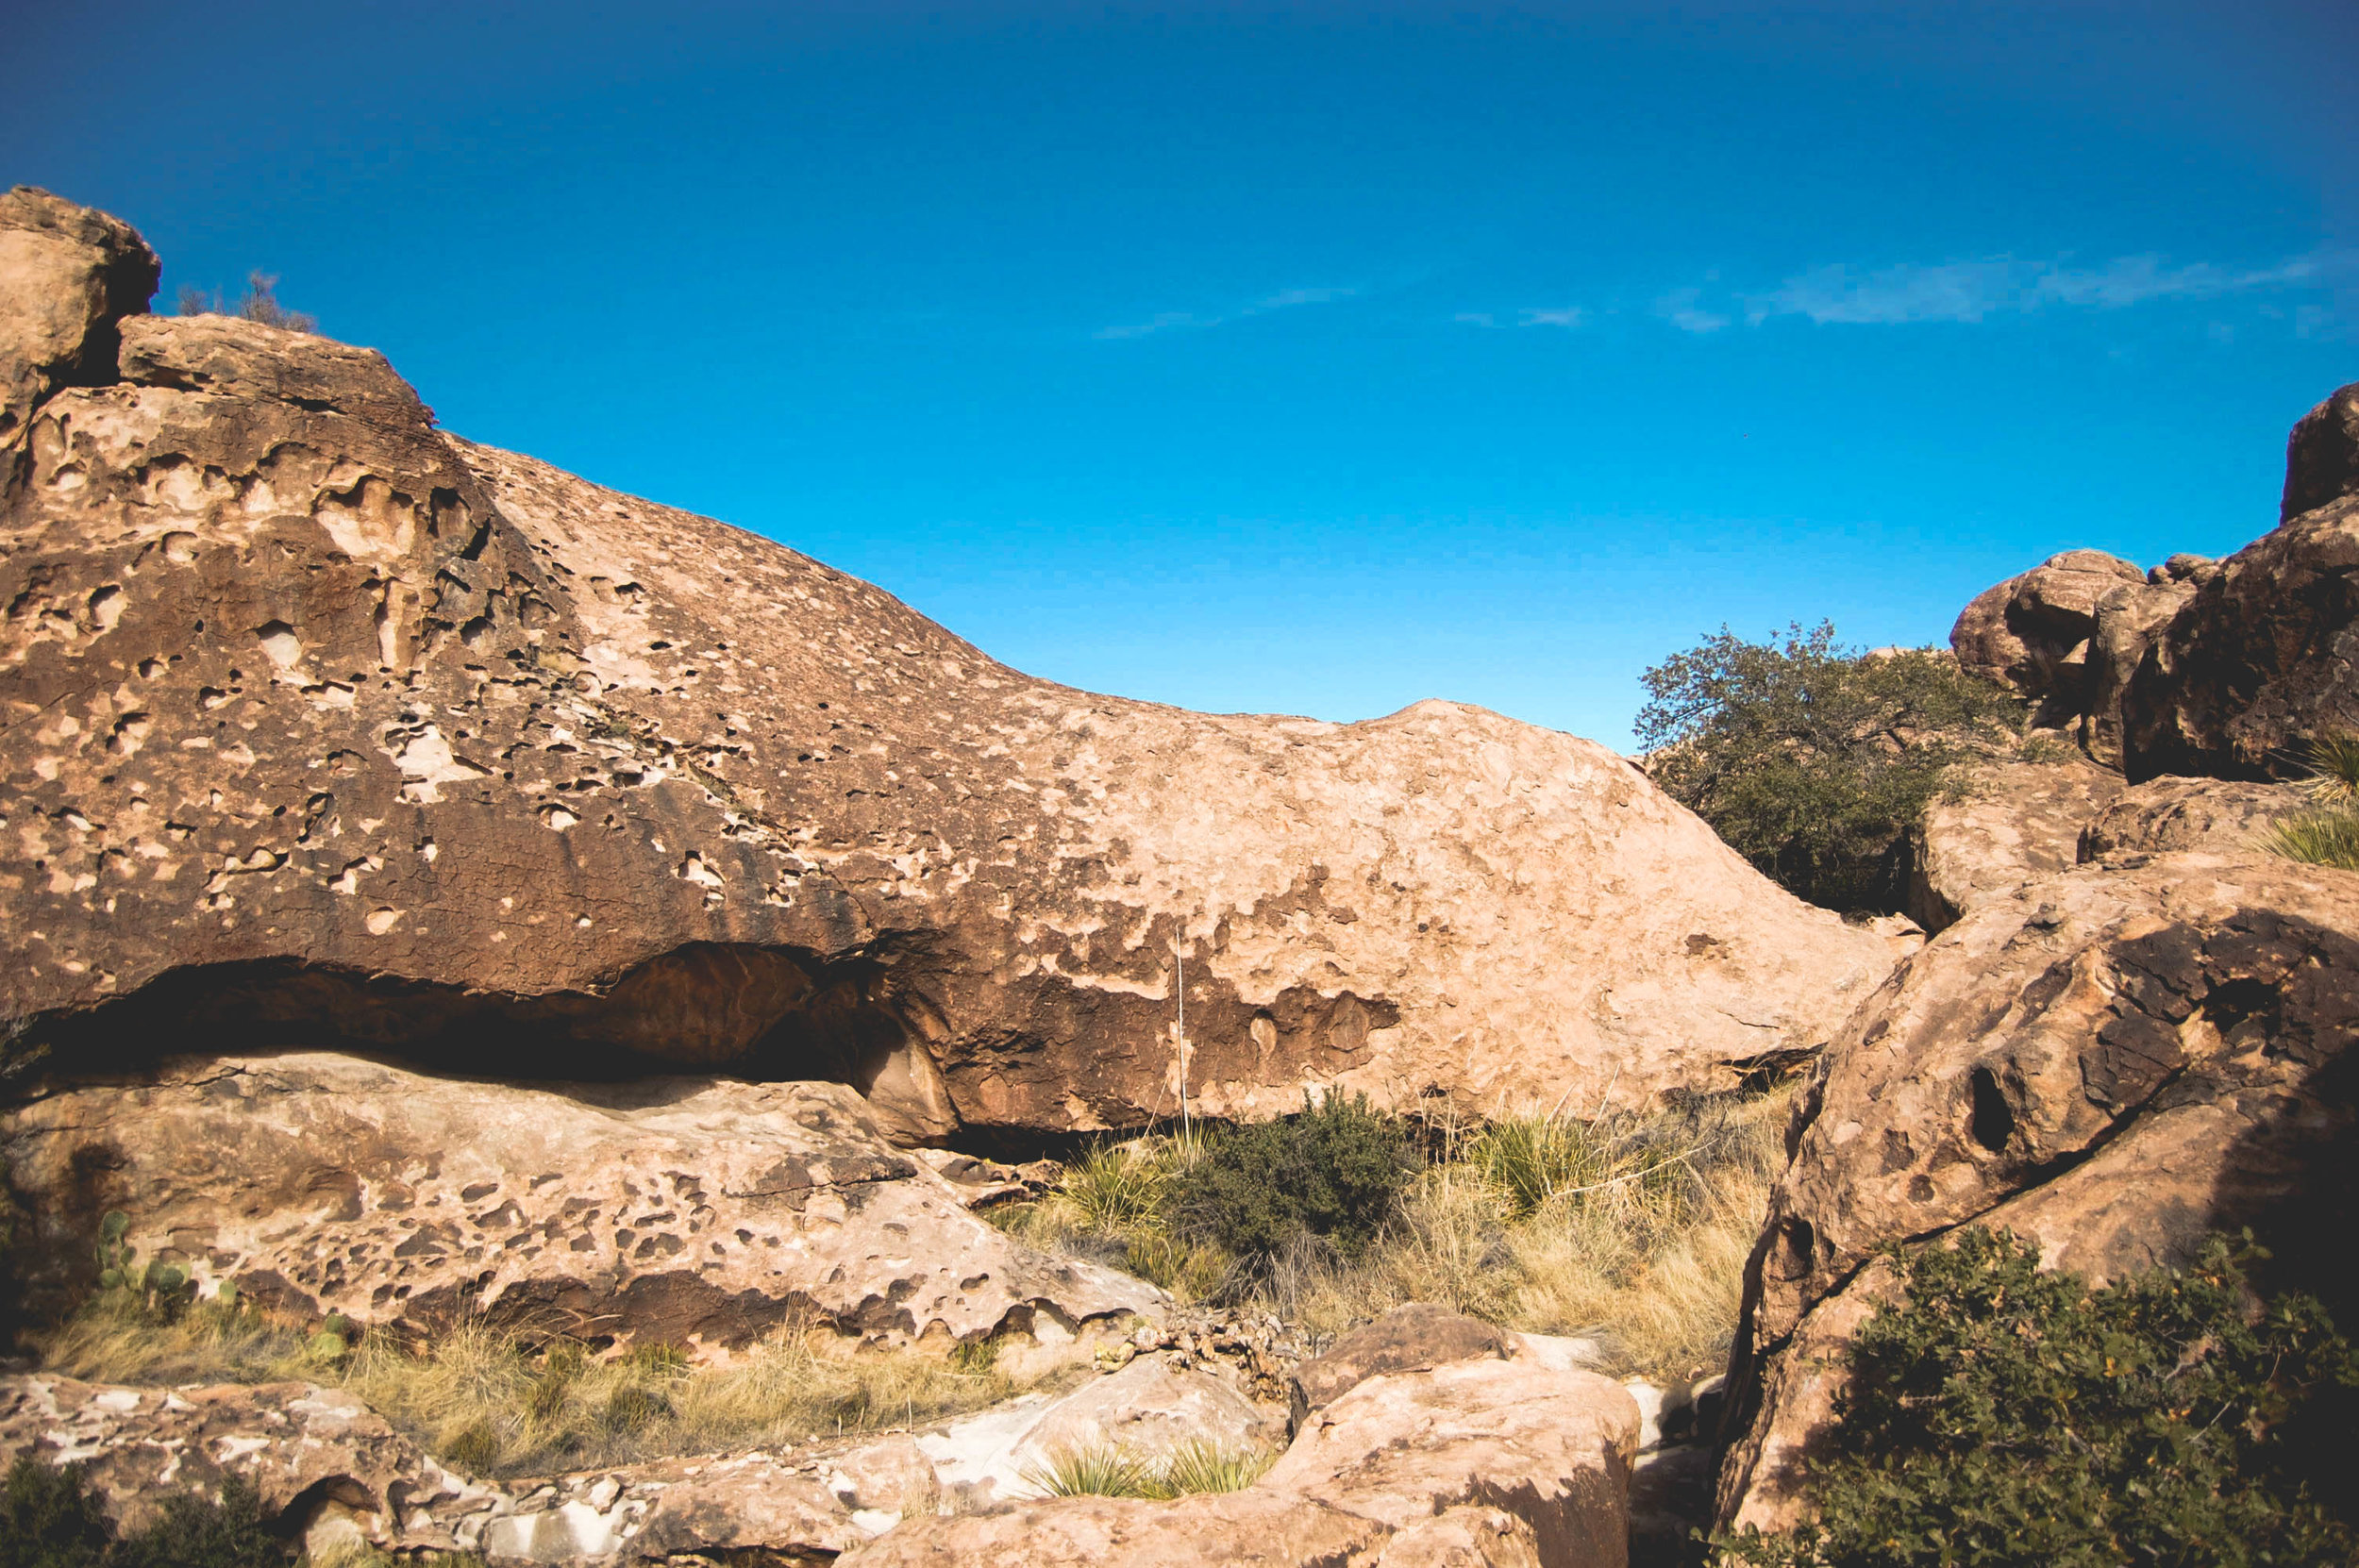
With this knowledge in hand and pop-tarts in our bellies we set off up the road to Upper Mt. Scott. We pulled over at the first possible area for cars to pull off on, and take a gander up towards the top of the mountain. We notice several large boulders on the hill and set off on some recon to see if there was anything climbable on the lower section. Having been bouldering outside a few times I knew what to look for; Boulder height, hand holds, loose rock, fall zone, even foot holds are important to identifying if a boulder is possible to be climbed.
We found 3 boulders after about 10 minutes of hiking up that would eventually yield 4 actual rock climbs. We decided as a group we wanted to find 4 actual boulders before heading back down to the car and grabbing the crash pads and gear, so we headed further up the mountain towards some larger rocks. We found what we would later call "The Rook" boulder, and that single boulder would yield 3 rock climbs. With our 4 boulders located we grabbed our gear and headed back to the first boulder.

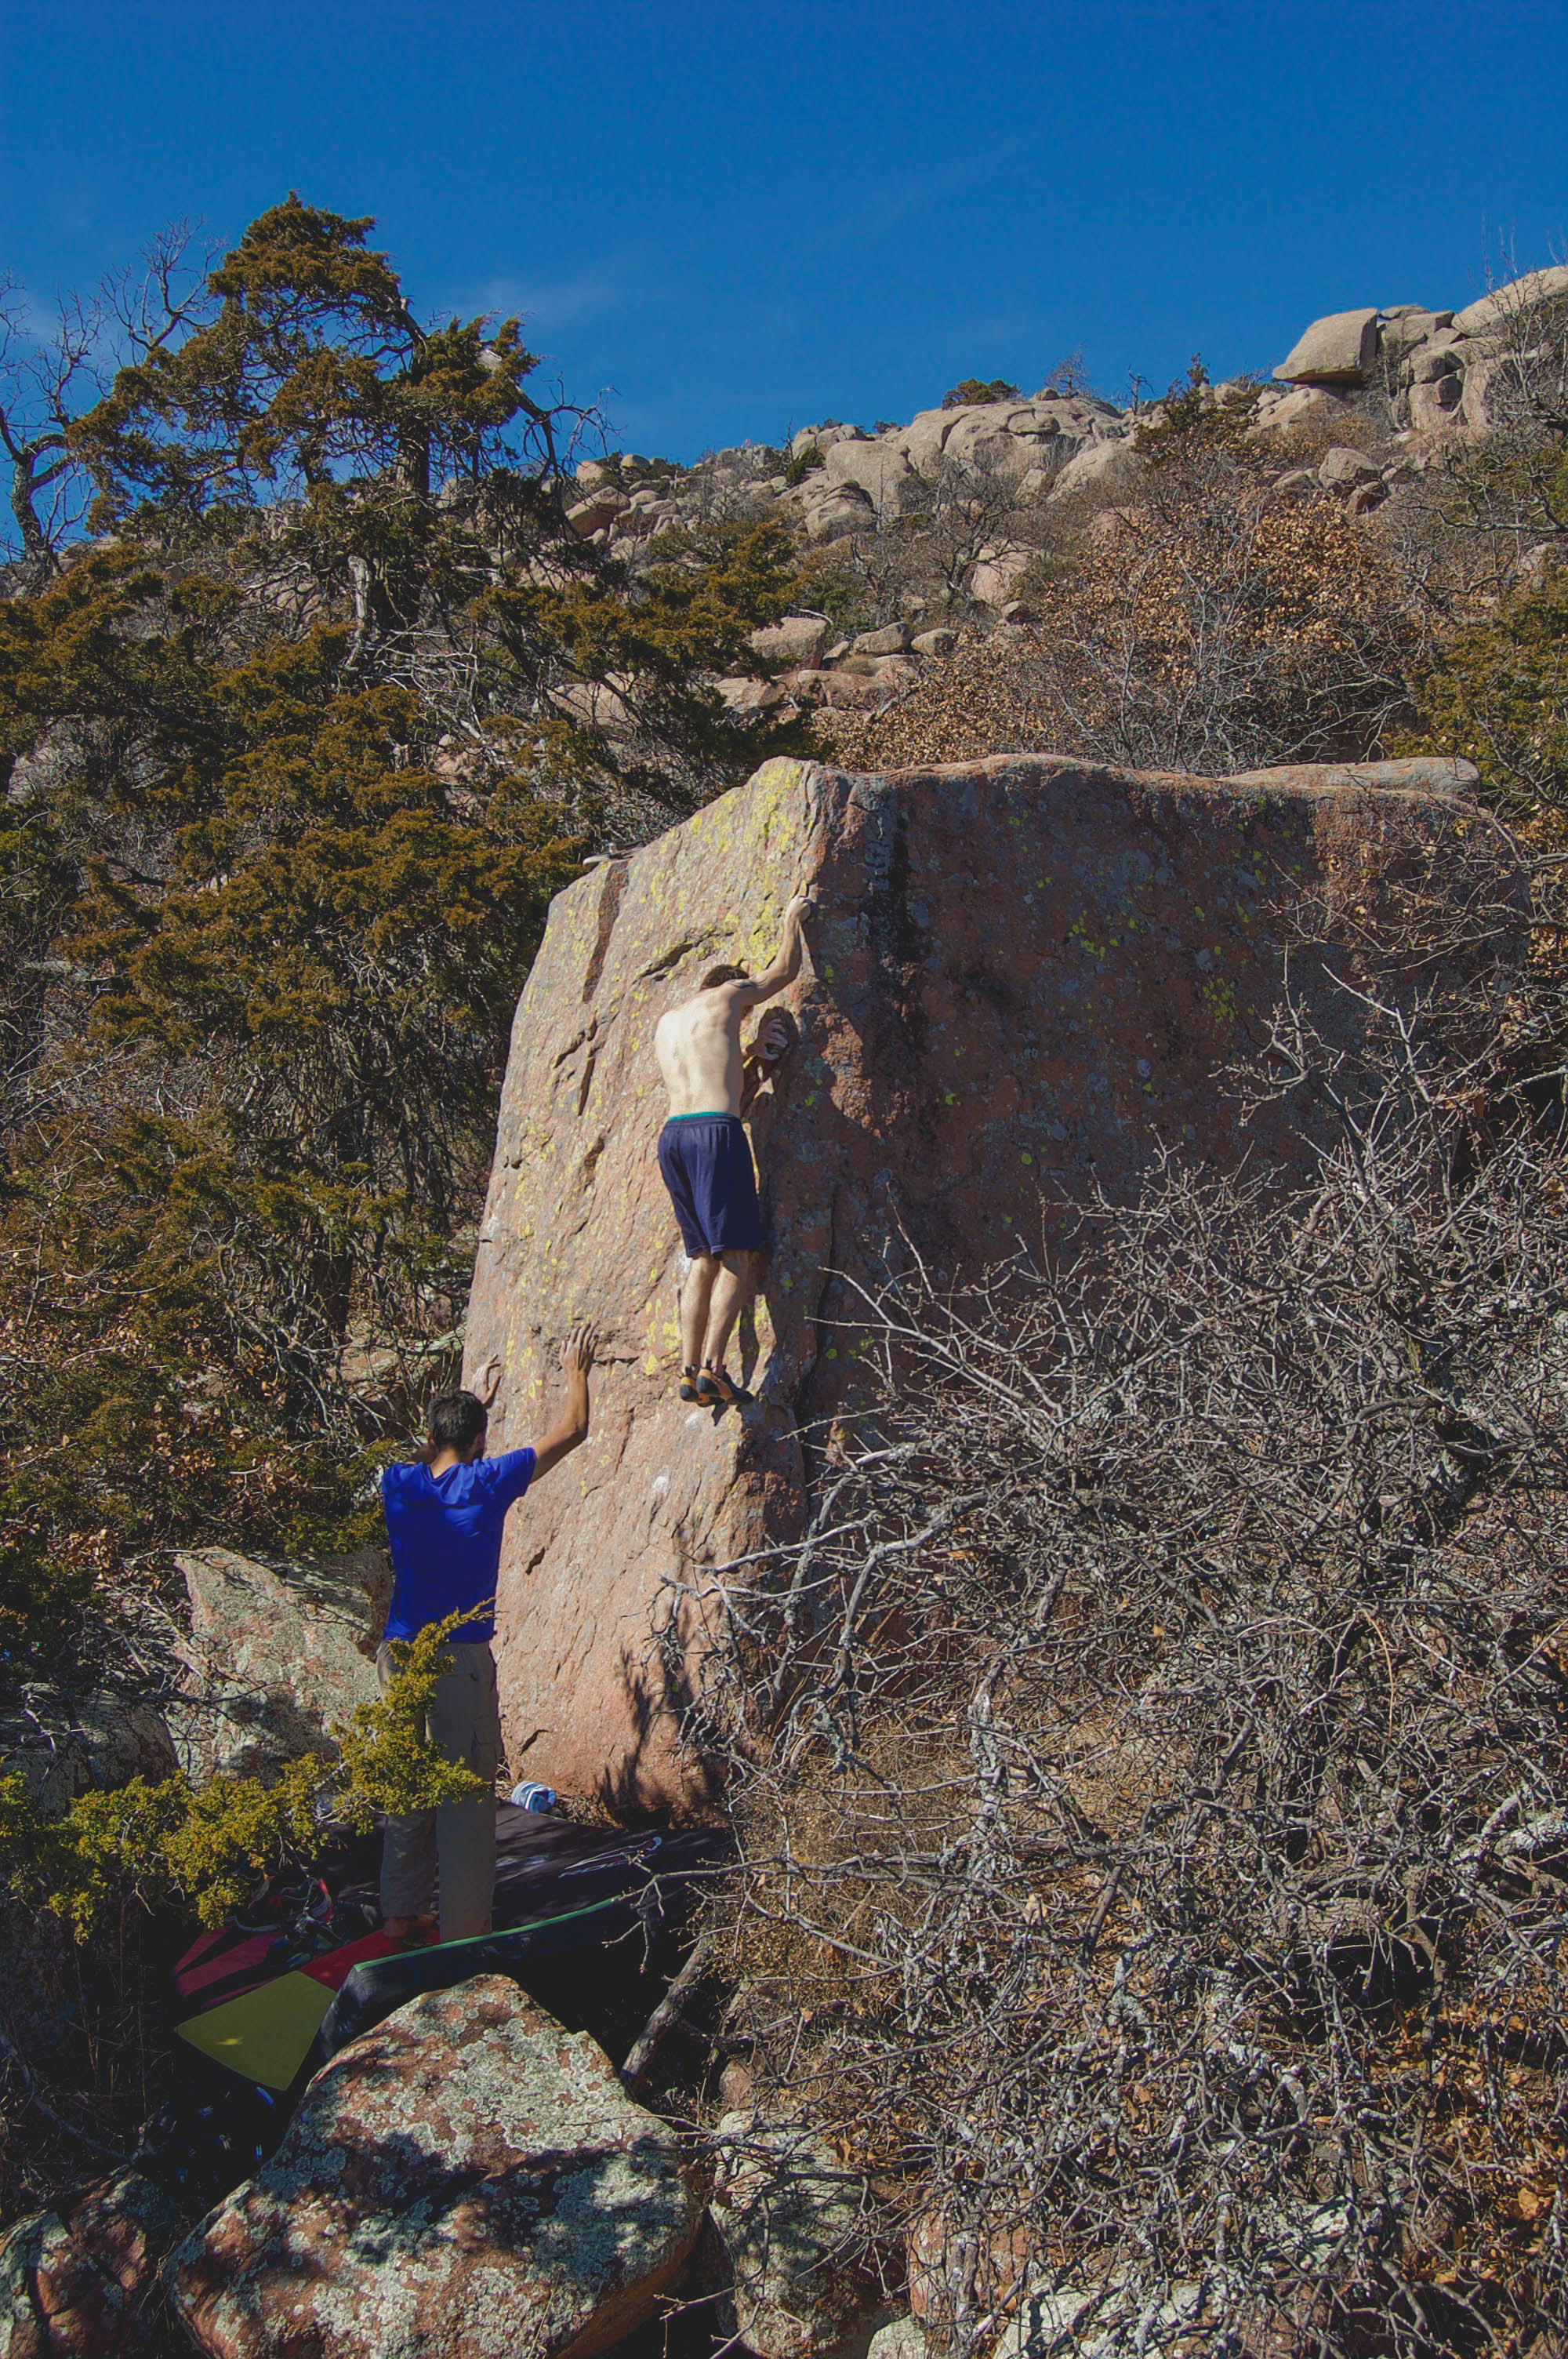
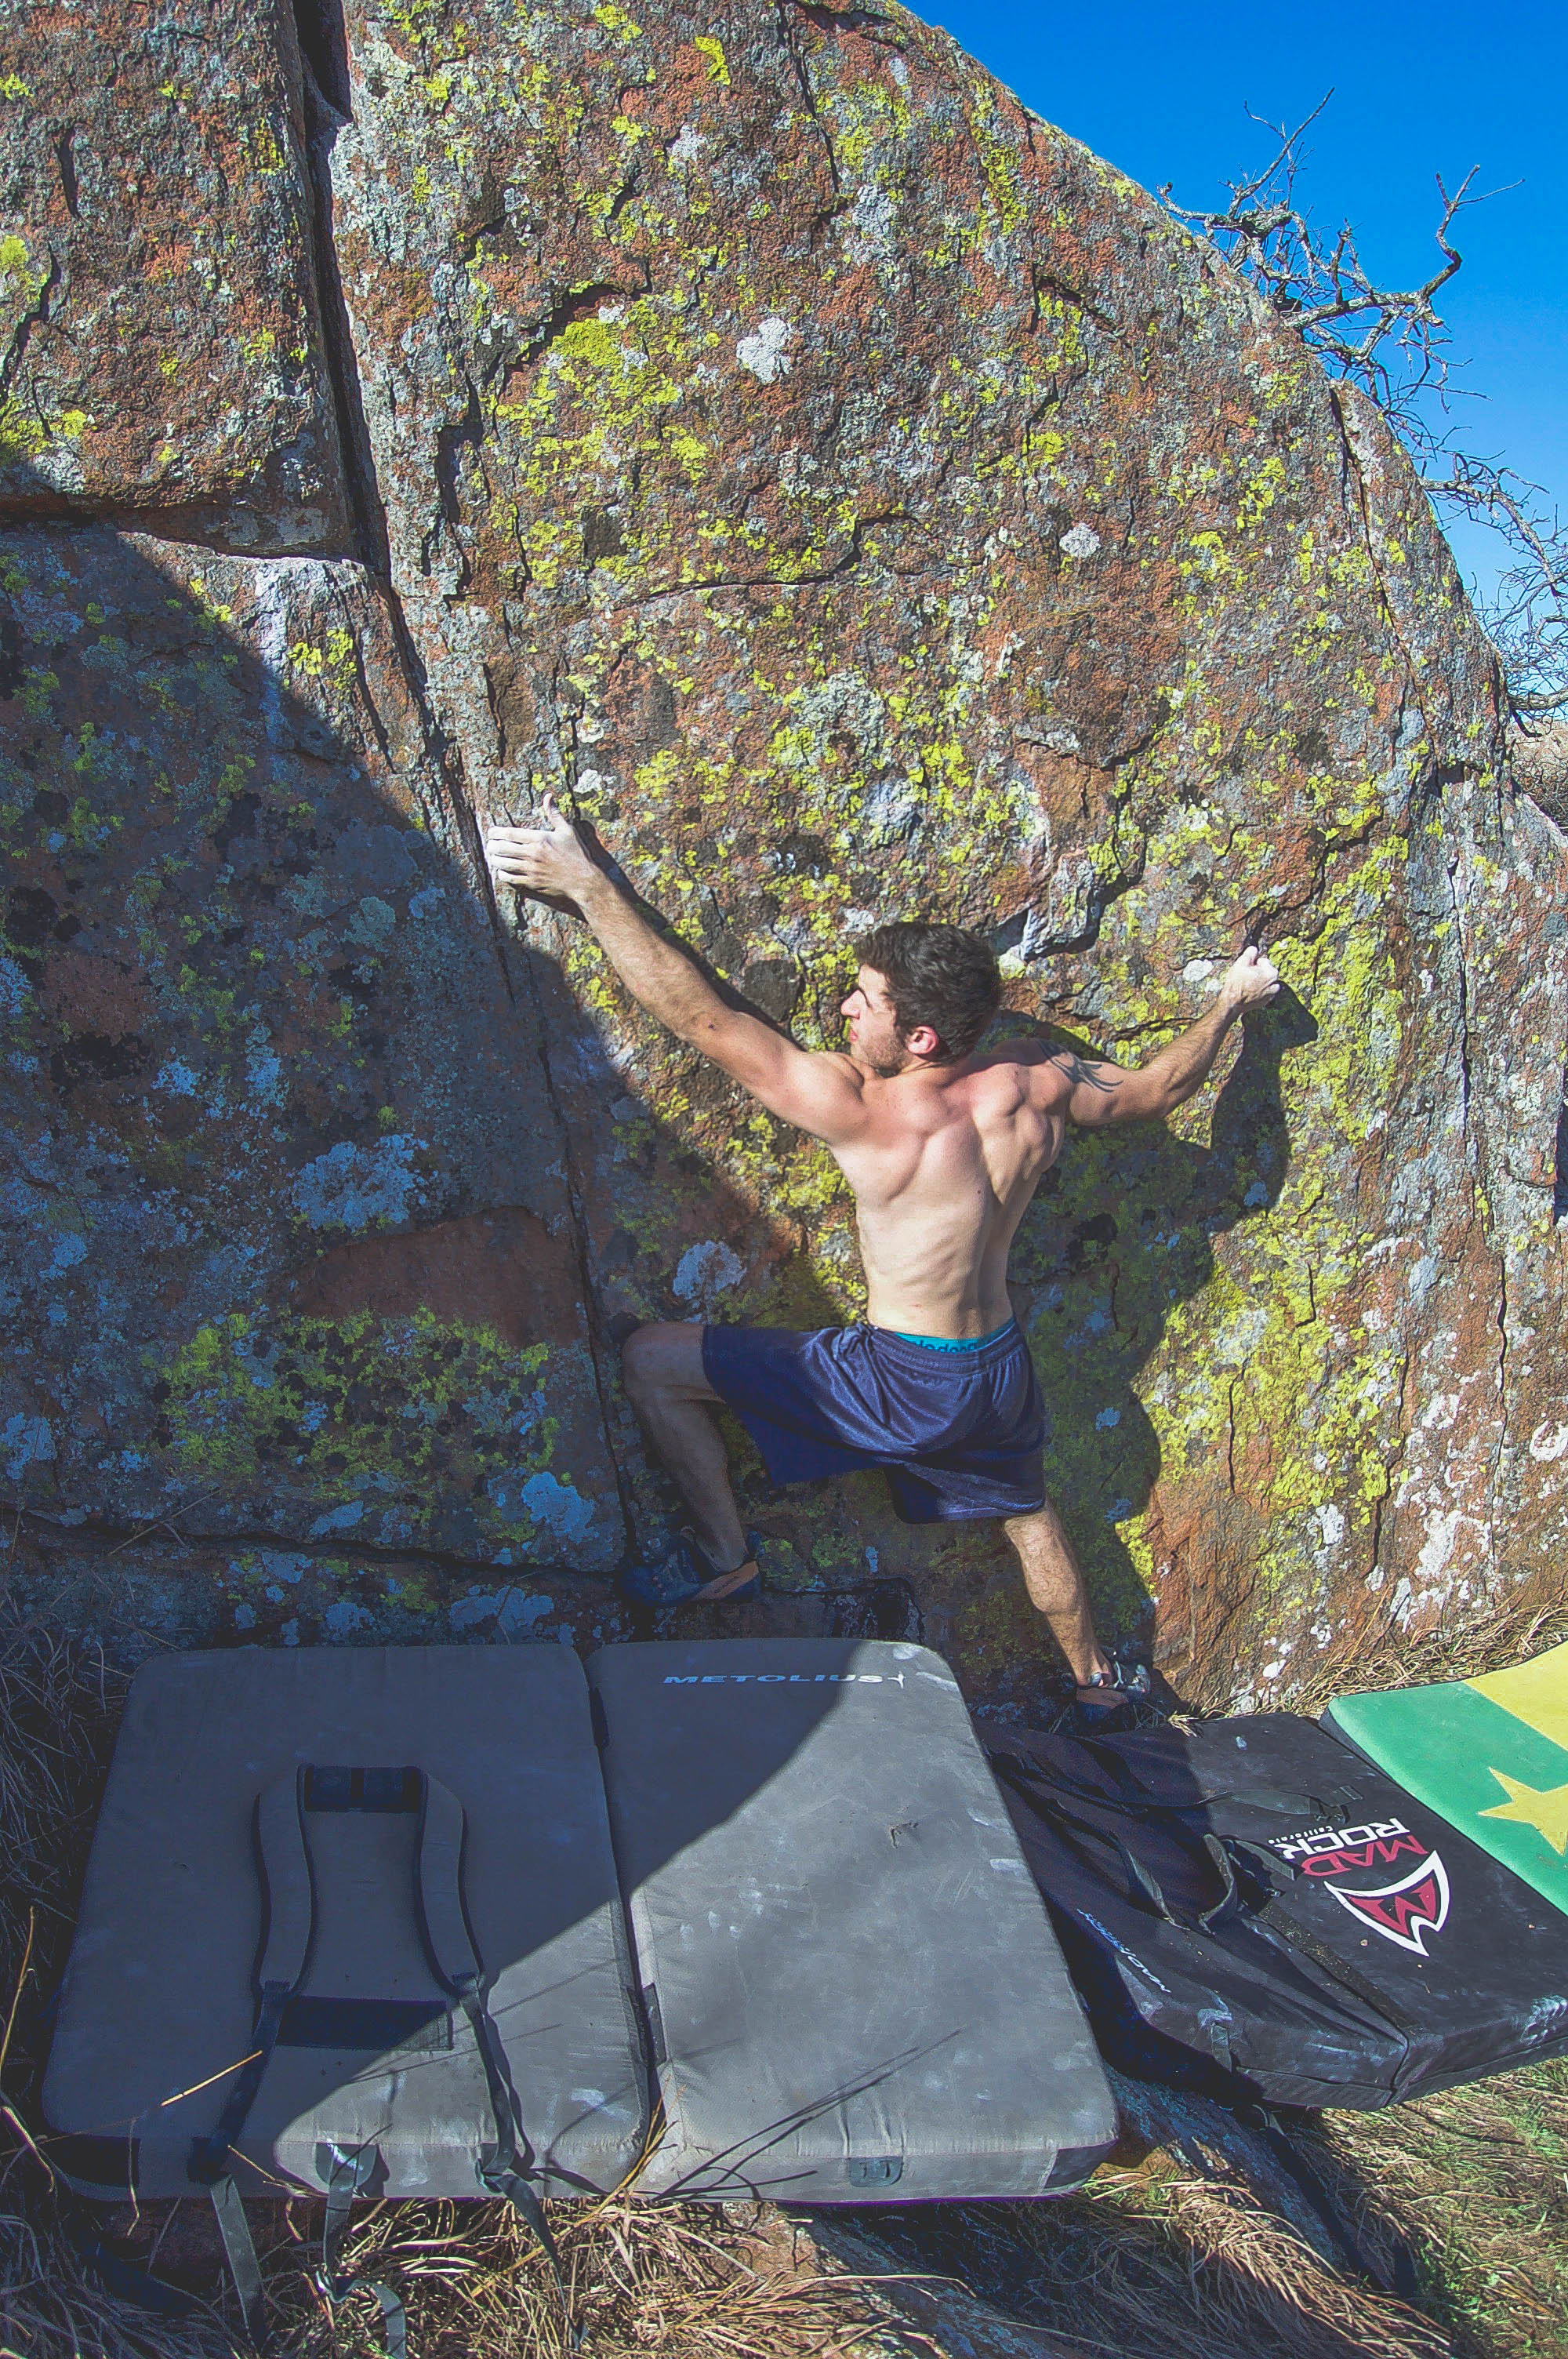
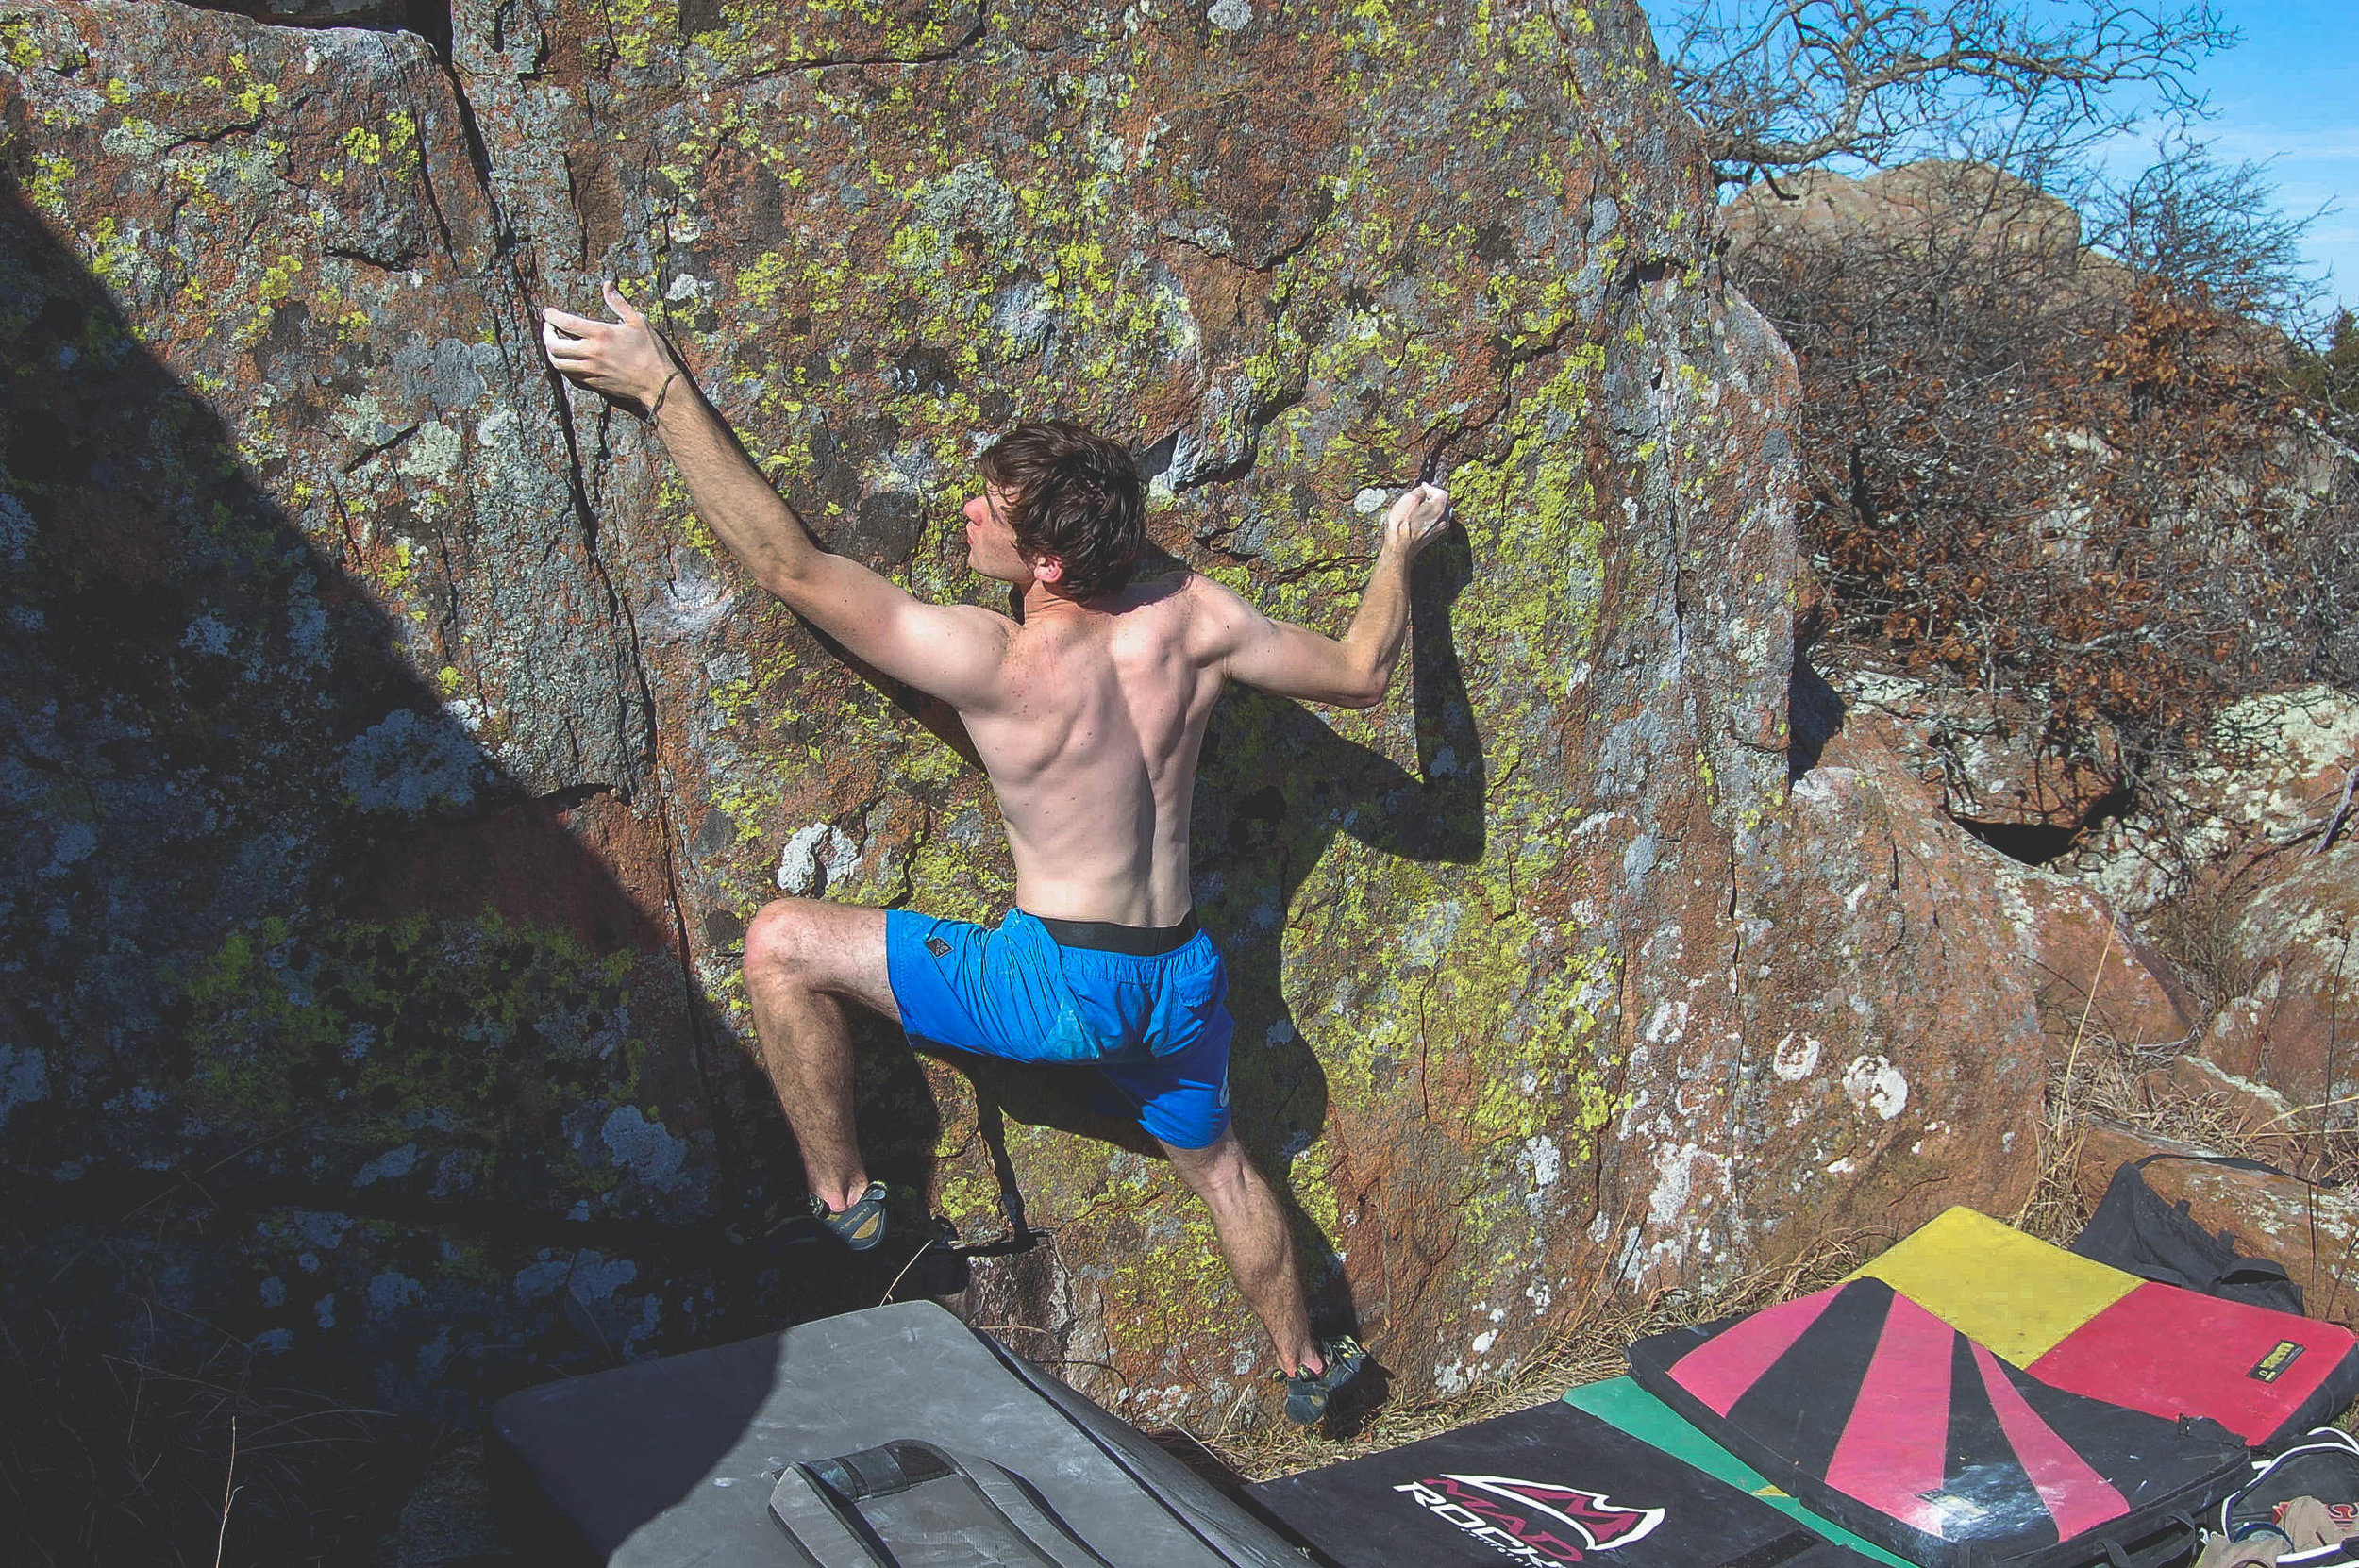
This Boulder had a very unique ledge like feature that came up to about the nipple area on us (We're all roughly 5'11"). Because of the high ledge it meant we would have to "Mantle", meaning use very upper body heavy move to get on top of the ledge. Jack hit it first and got it with no issue. The mantle is quite easy, followed up by some high hands to a crimp towards the top, some high feet follow that and you hug the top of the boulder while walking your feet up the side eventually leading to the top out. Jack got the "FA" and named it "Mantle to Greatness", and we all decided it would be a V2 in difficulty. Made a great warm up route.
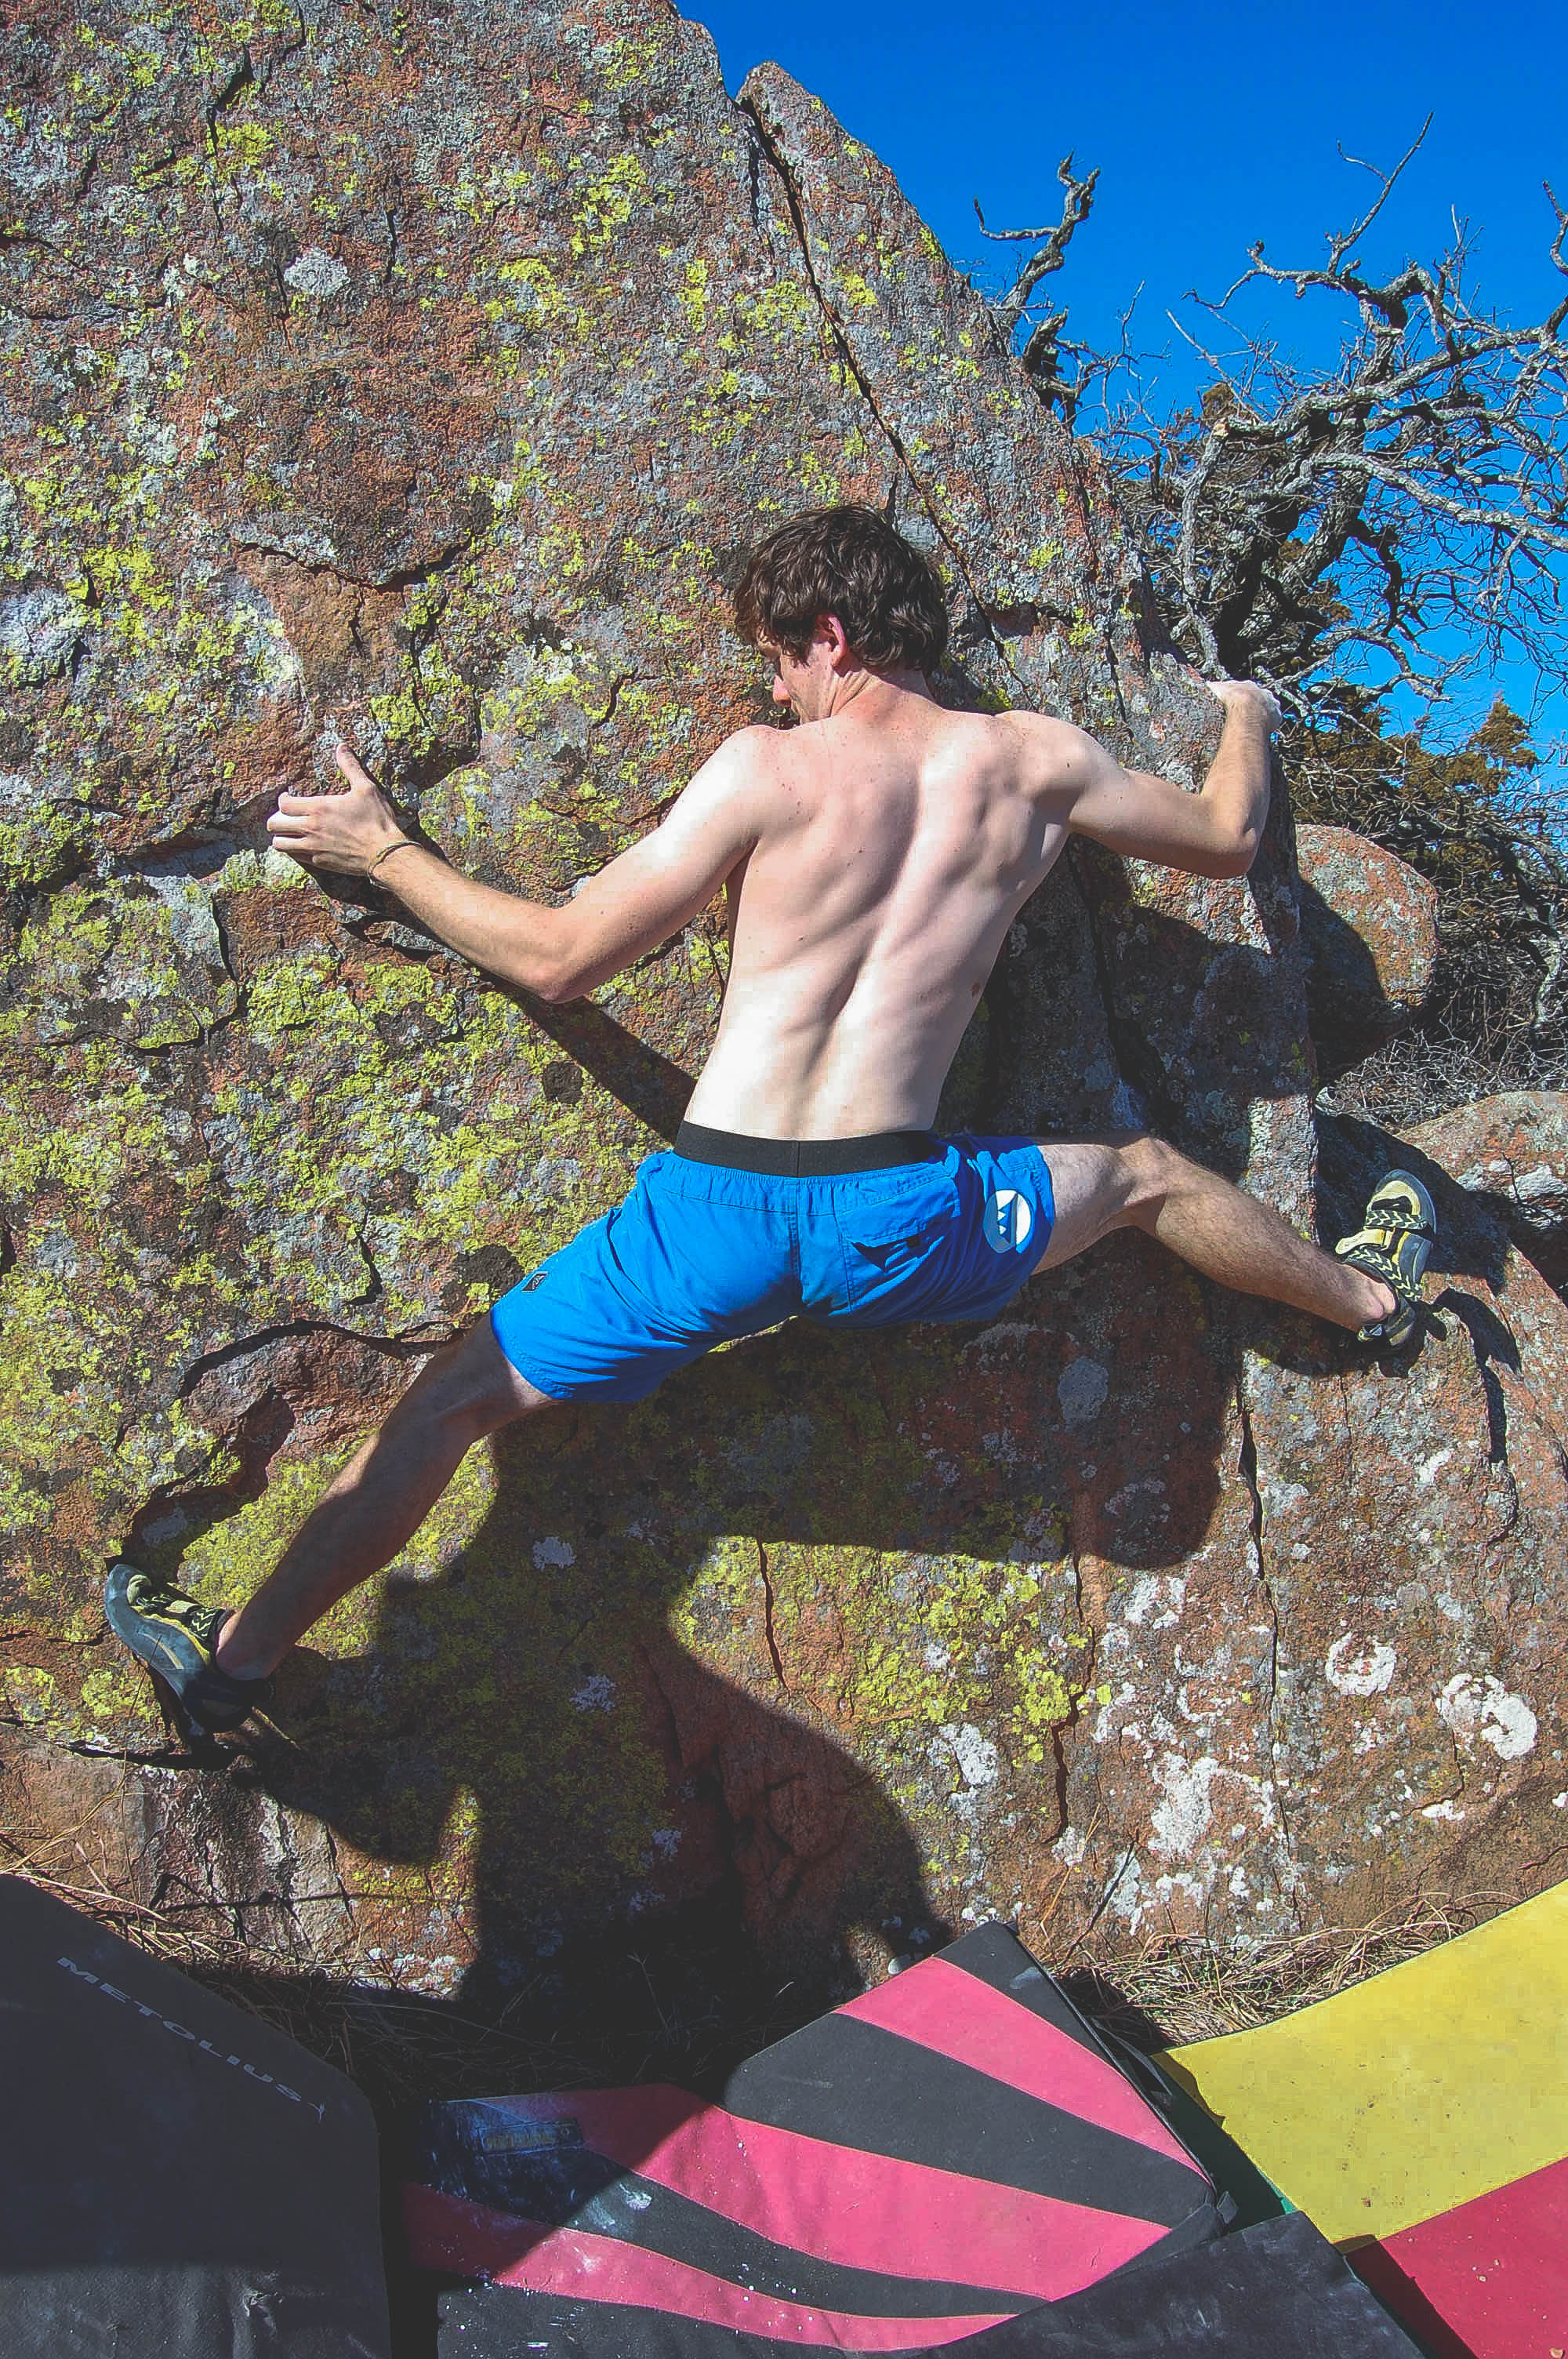
The next boulder is located directly behind the "Mantle to Greatness" climb on a small, long, boulder behind a large tree/bush thing. It caught my eye when we were scouting around because of the very defined top of the boulder that had a very nice edge. It would prove very good while climbing as we threw heel & toe hooks on it as we traversed it's 7-10 foot length to a semi-hard, small, mantle at the end. Evan got the FA on the route and named it "College", since he felt it mimic'd the College experience (Easy until the end, when it gets real). We rated the route at V3.

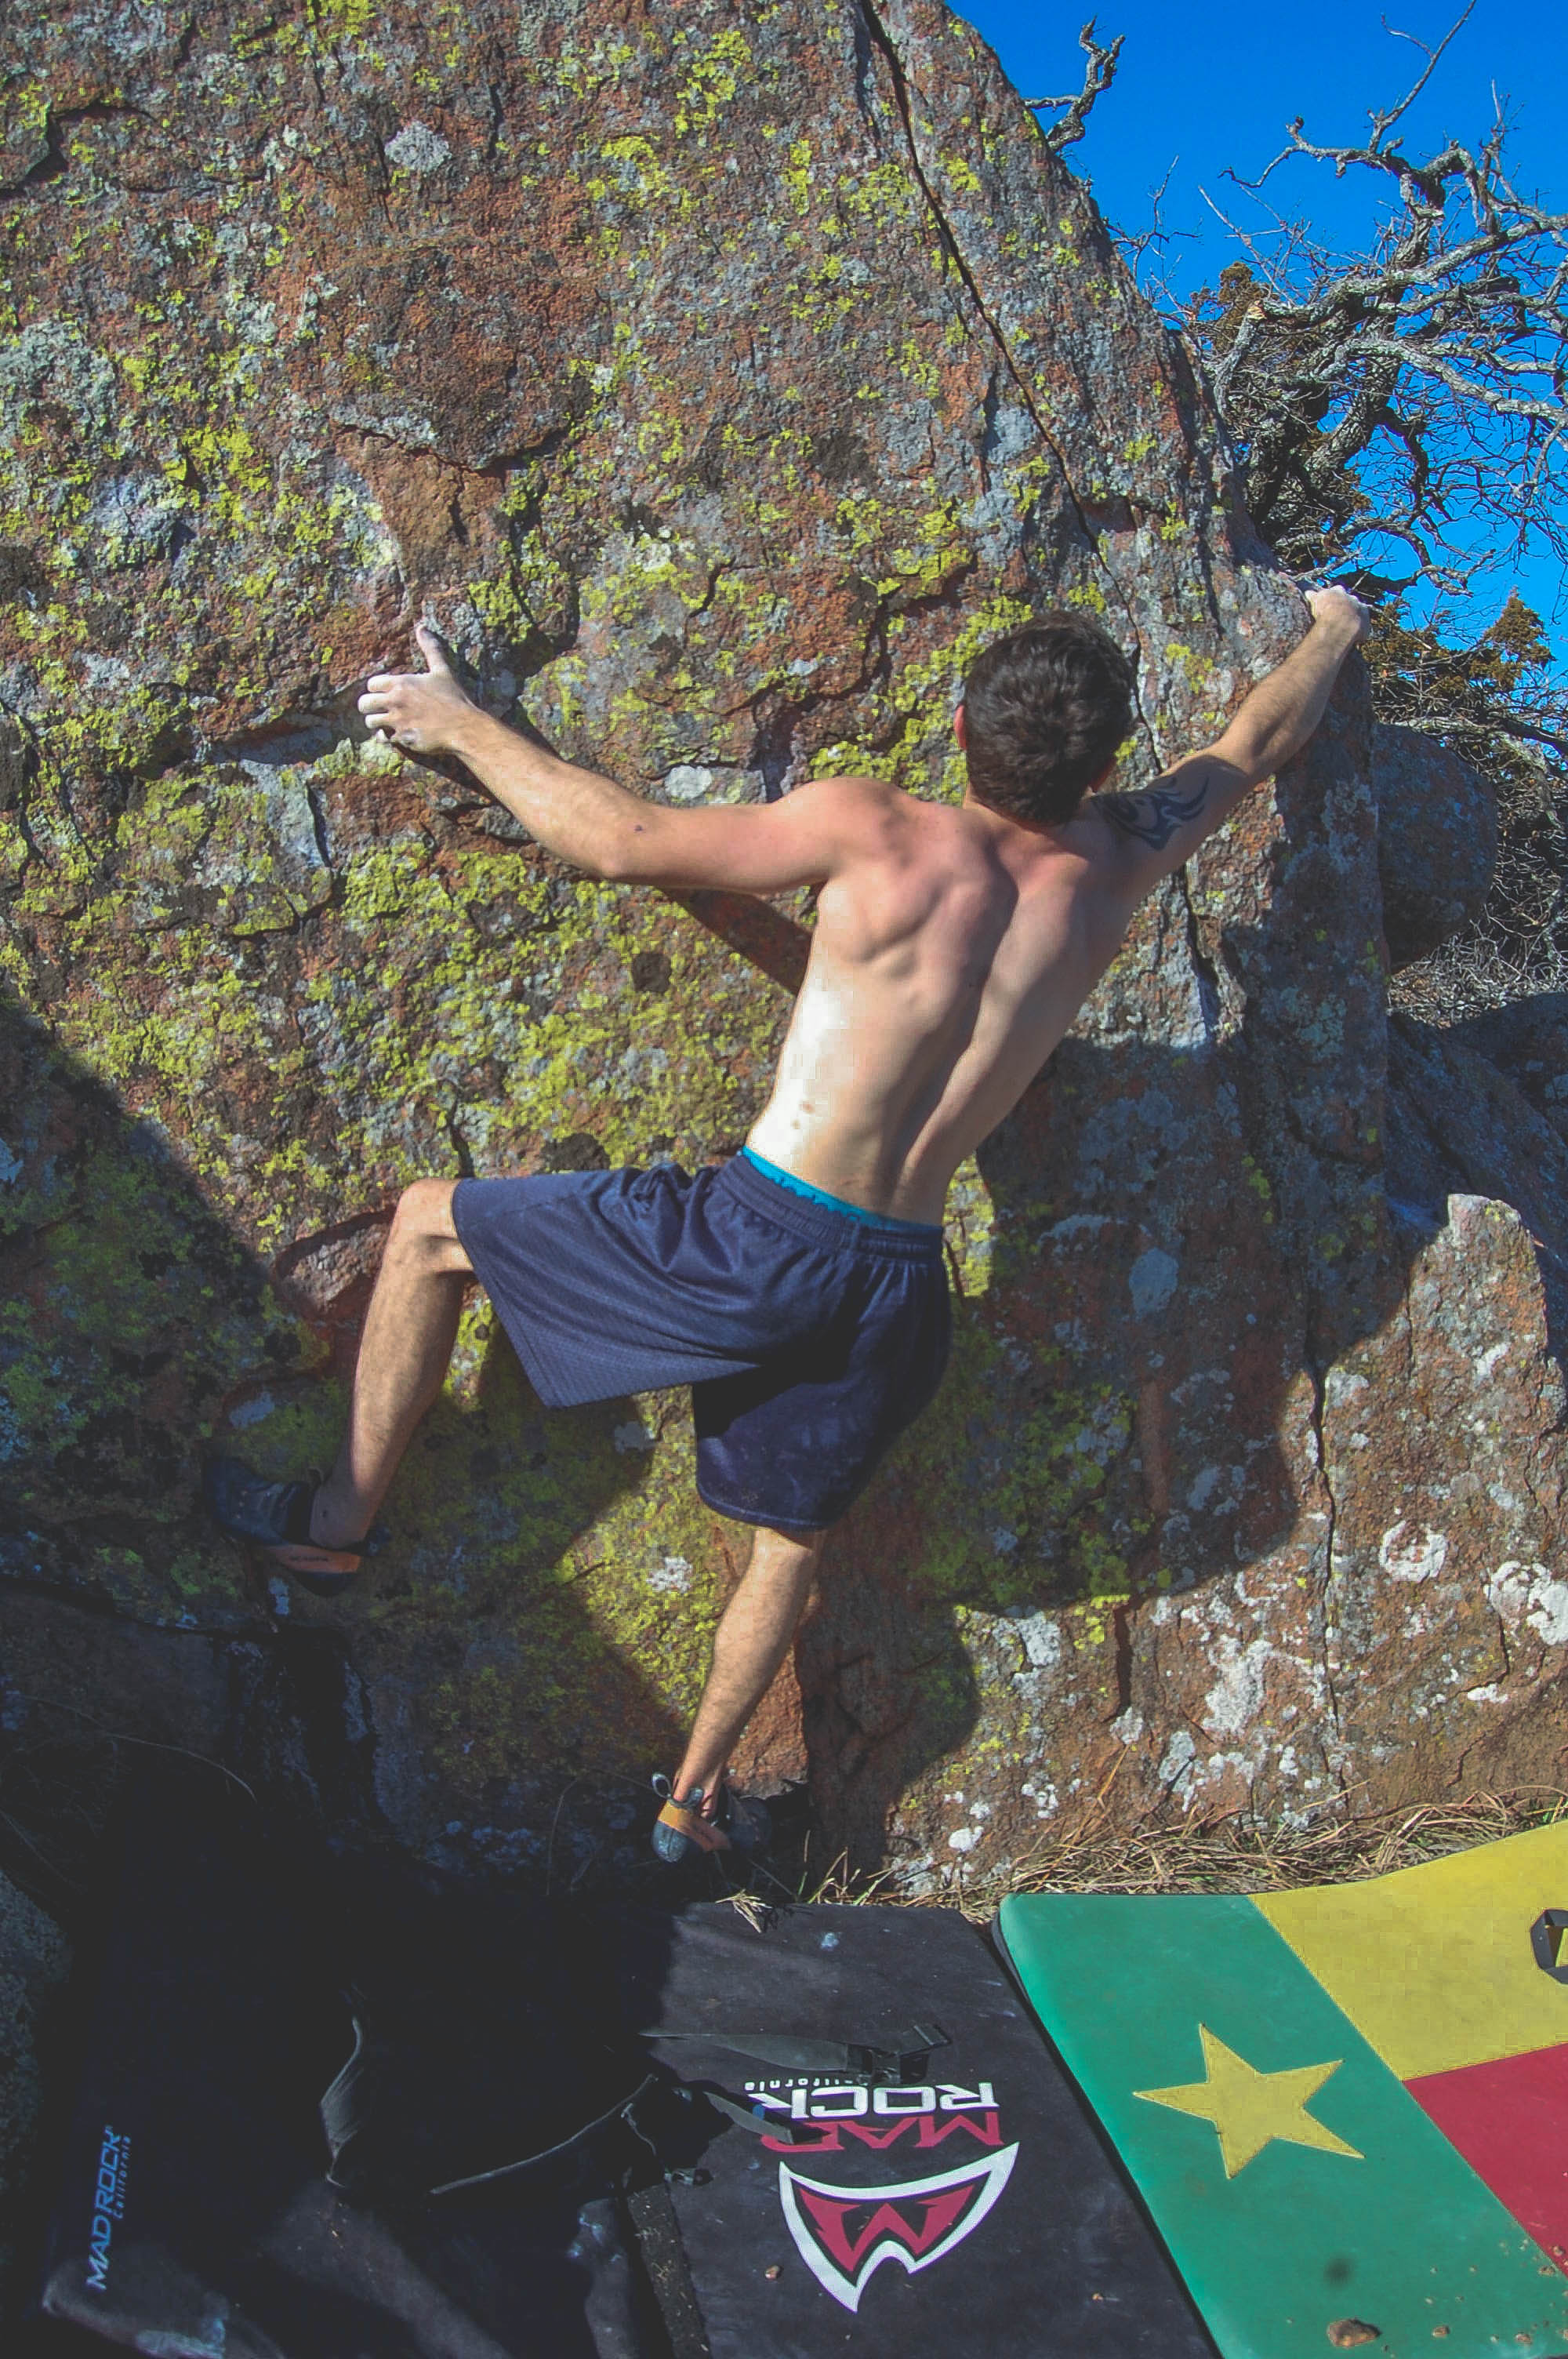
Jack throwing a heel hook at the finish of "College" V3
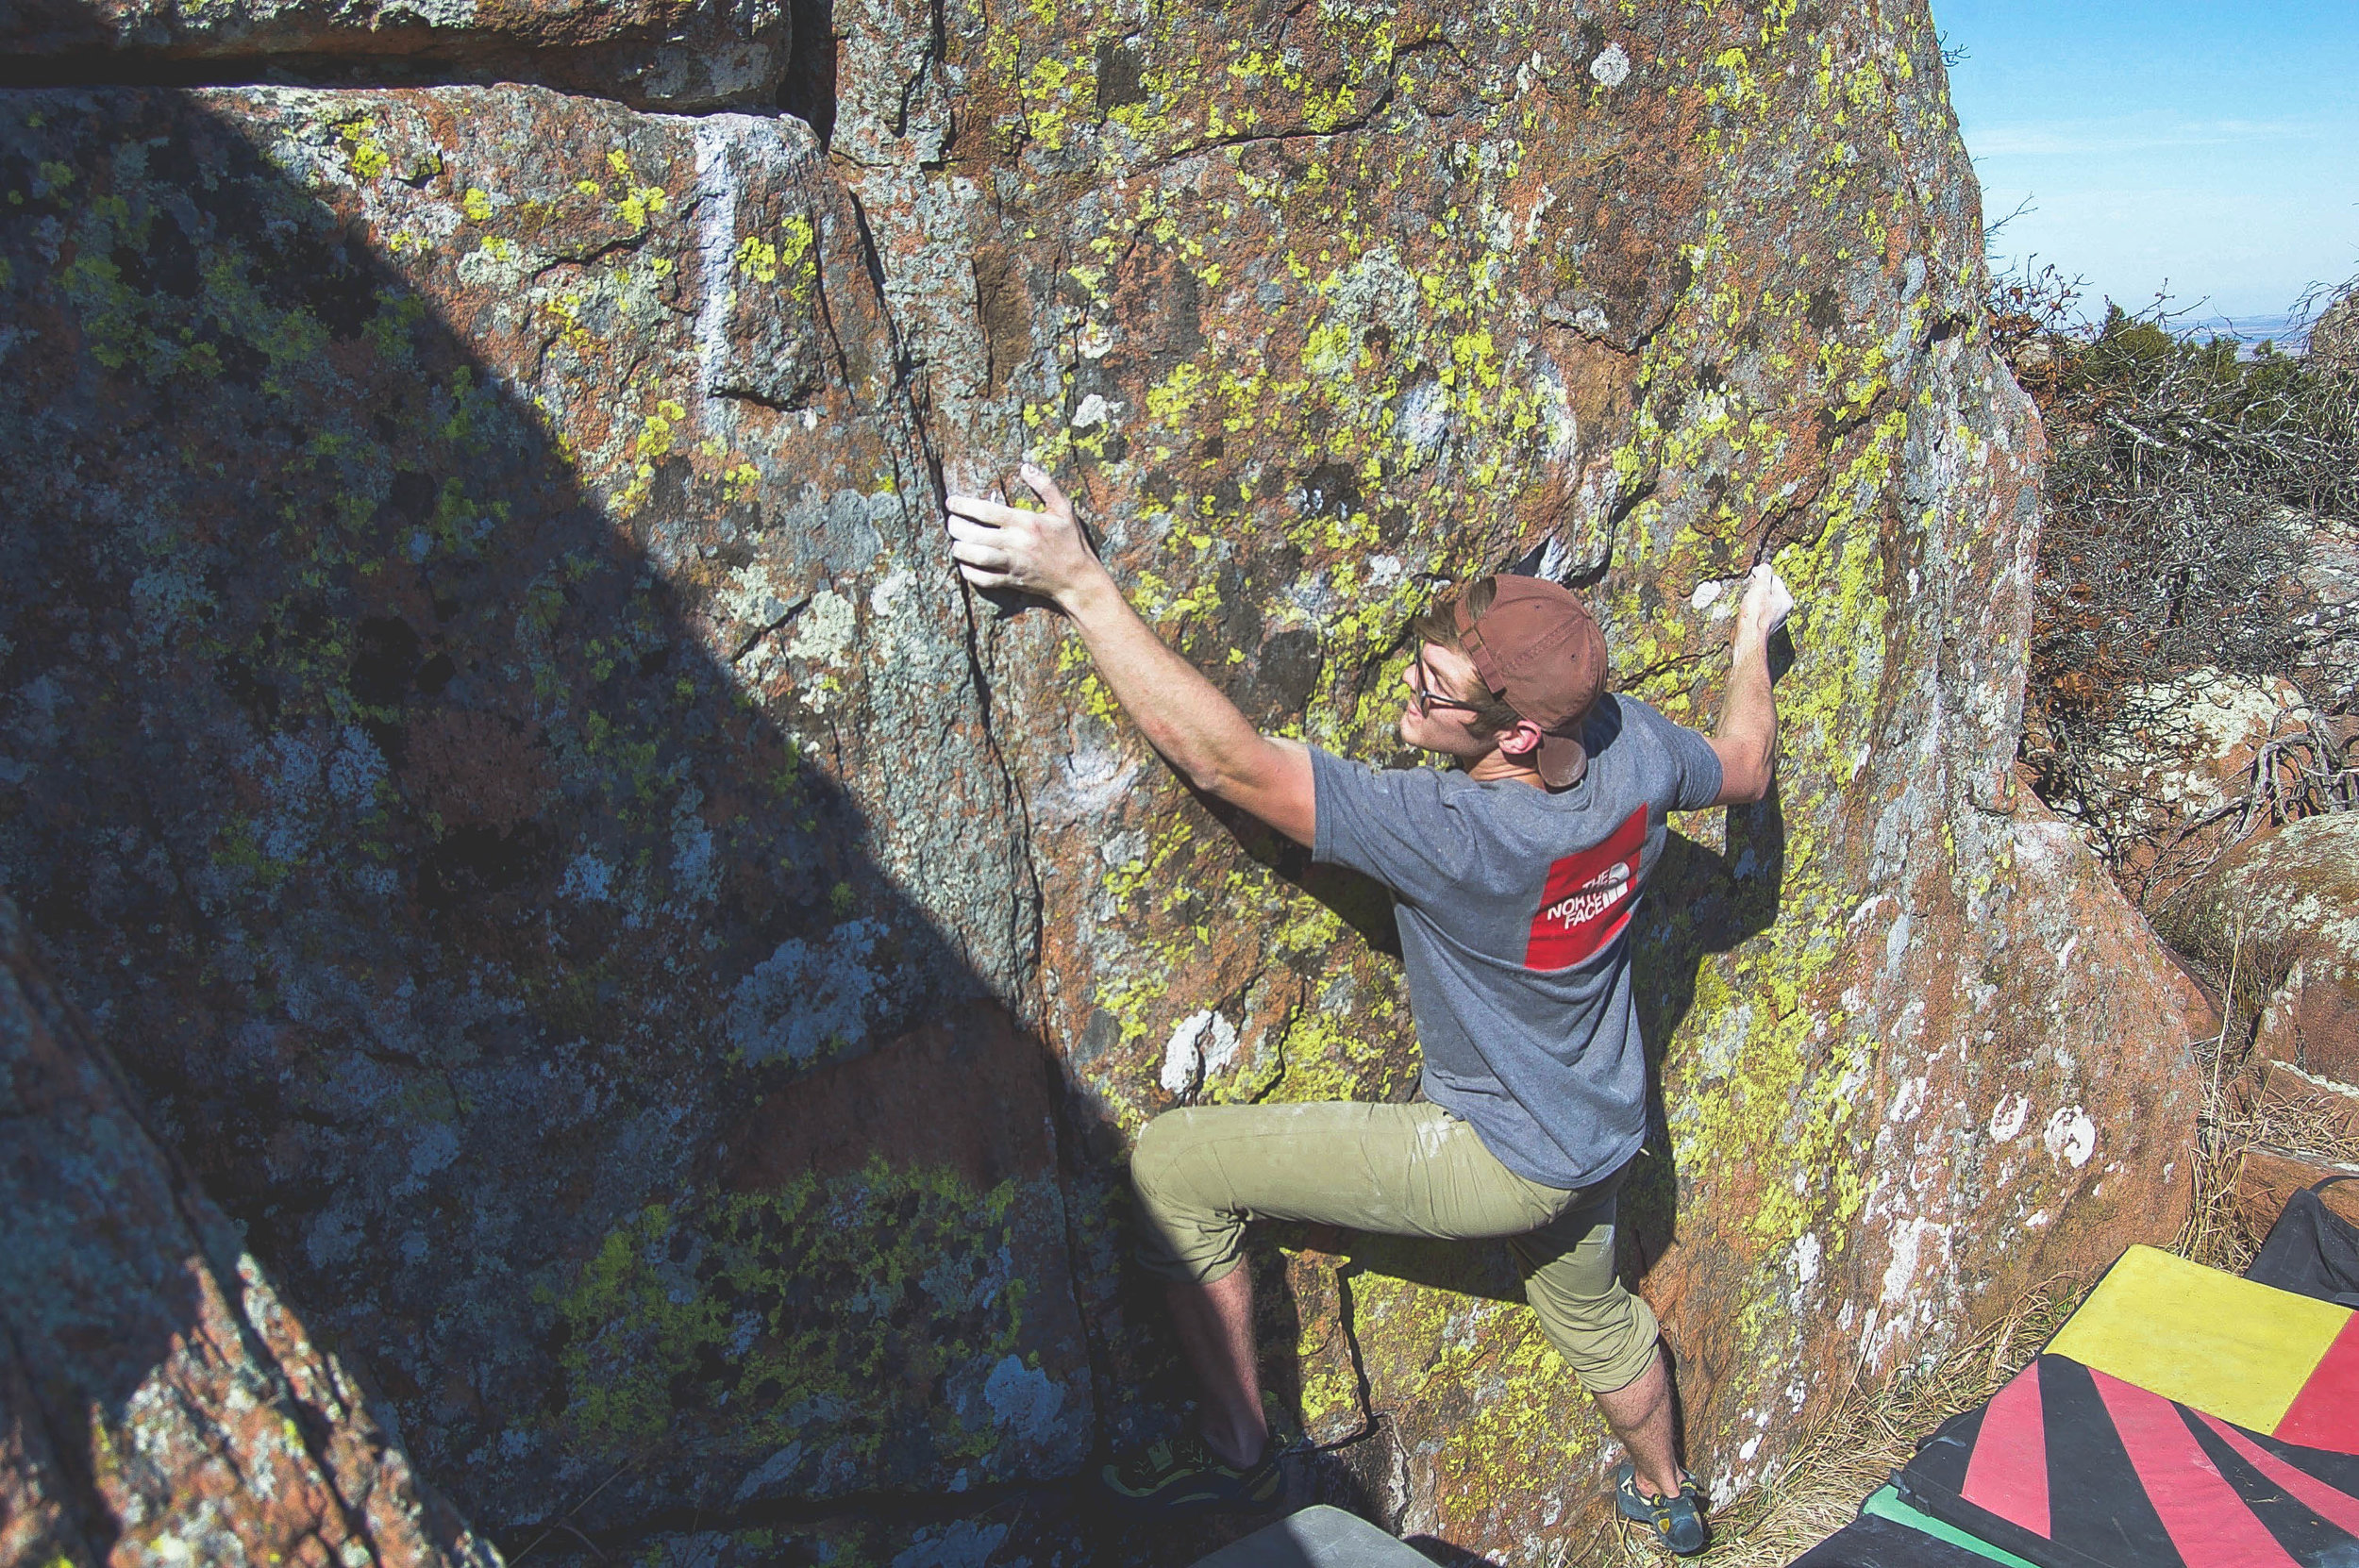
Jack getting ready for the final move off the sketchy foot jib.
Satisfied with our first two climbs of the day we folded up the crash pads and headed up to our next boulder, "The Rook". Moe named the actual boulder since it was very square he felt it resembled the chess piece. We determined from the initial recon that these routes would be fairly easy based off very obvious hand holds. Moe, not wanting to miss the chance on getting an easy FA, laced his shoes up and hopped on the first one. The route rides the "arete" (corner of the boulder) starting on two side pulls, working it's way up to another nice side pull with the finish being EXTRA committing with 1 horrible foot to push yourself to the top of the boulder. Needless to say pushing off 1 sub-optimal foot with the consequence of slipping off being "Cheese Grating" down the 5 feet of boulder below you is never ideal! Like the boss he is Moe reaches to the finish with no fear, Aptly naming the route "The Pawn" rated V1.
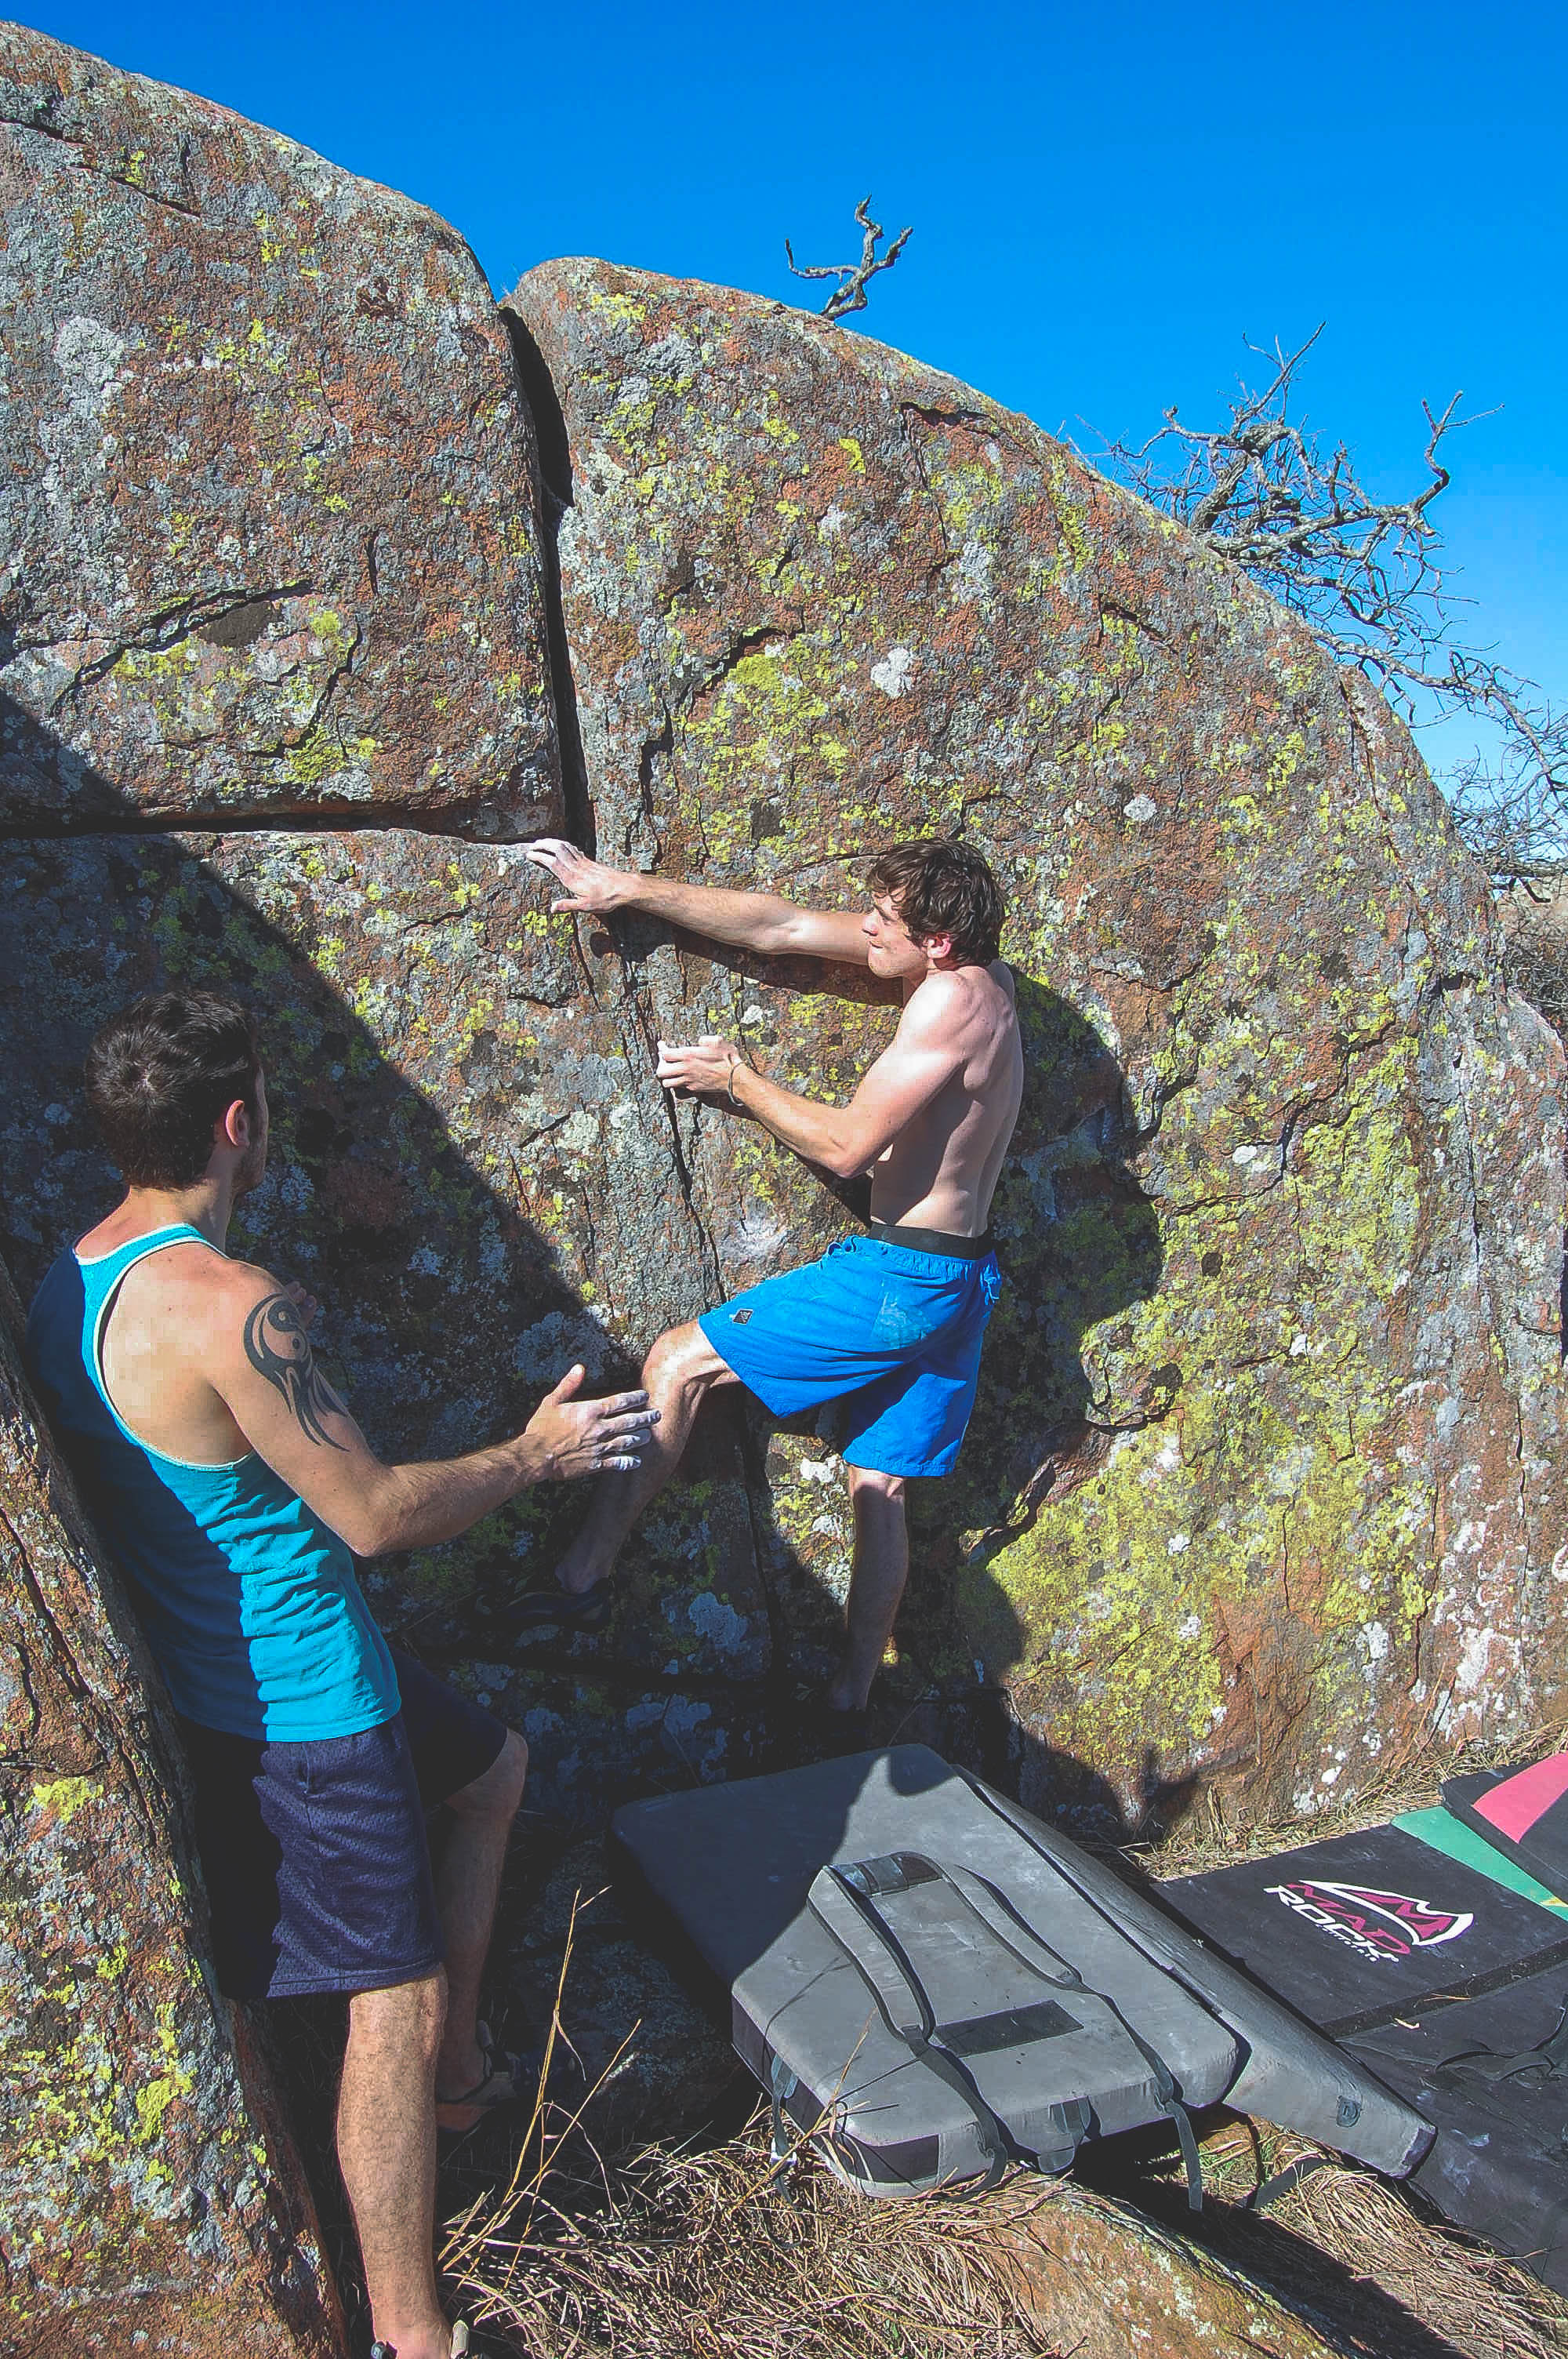
The next route would be on "The Rook" boulder again. This one on the left side of the face staring sitting low on a side pull and firing up to a right hand crimp. You work your way towards the left of the route grabbing a sub-optimal side pull and smearing feet on nothing and doing a quick but precise power move to the top. Jack got the FA on this one too naming it "Footloose" based off the lack of feet the further up the route you went. We rated it V1 as well.

Jack sits on top and watches as Evan sets his eyes on the next move of "Footloose" V1

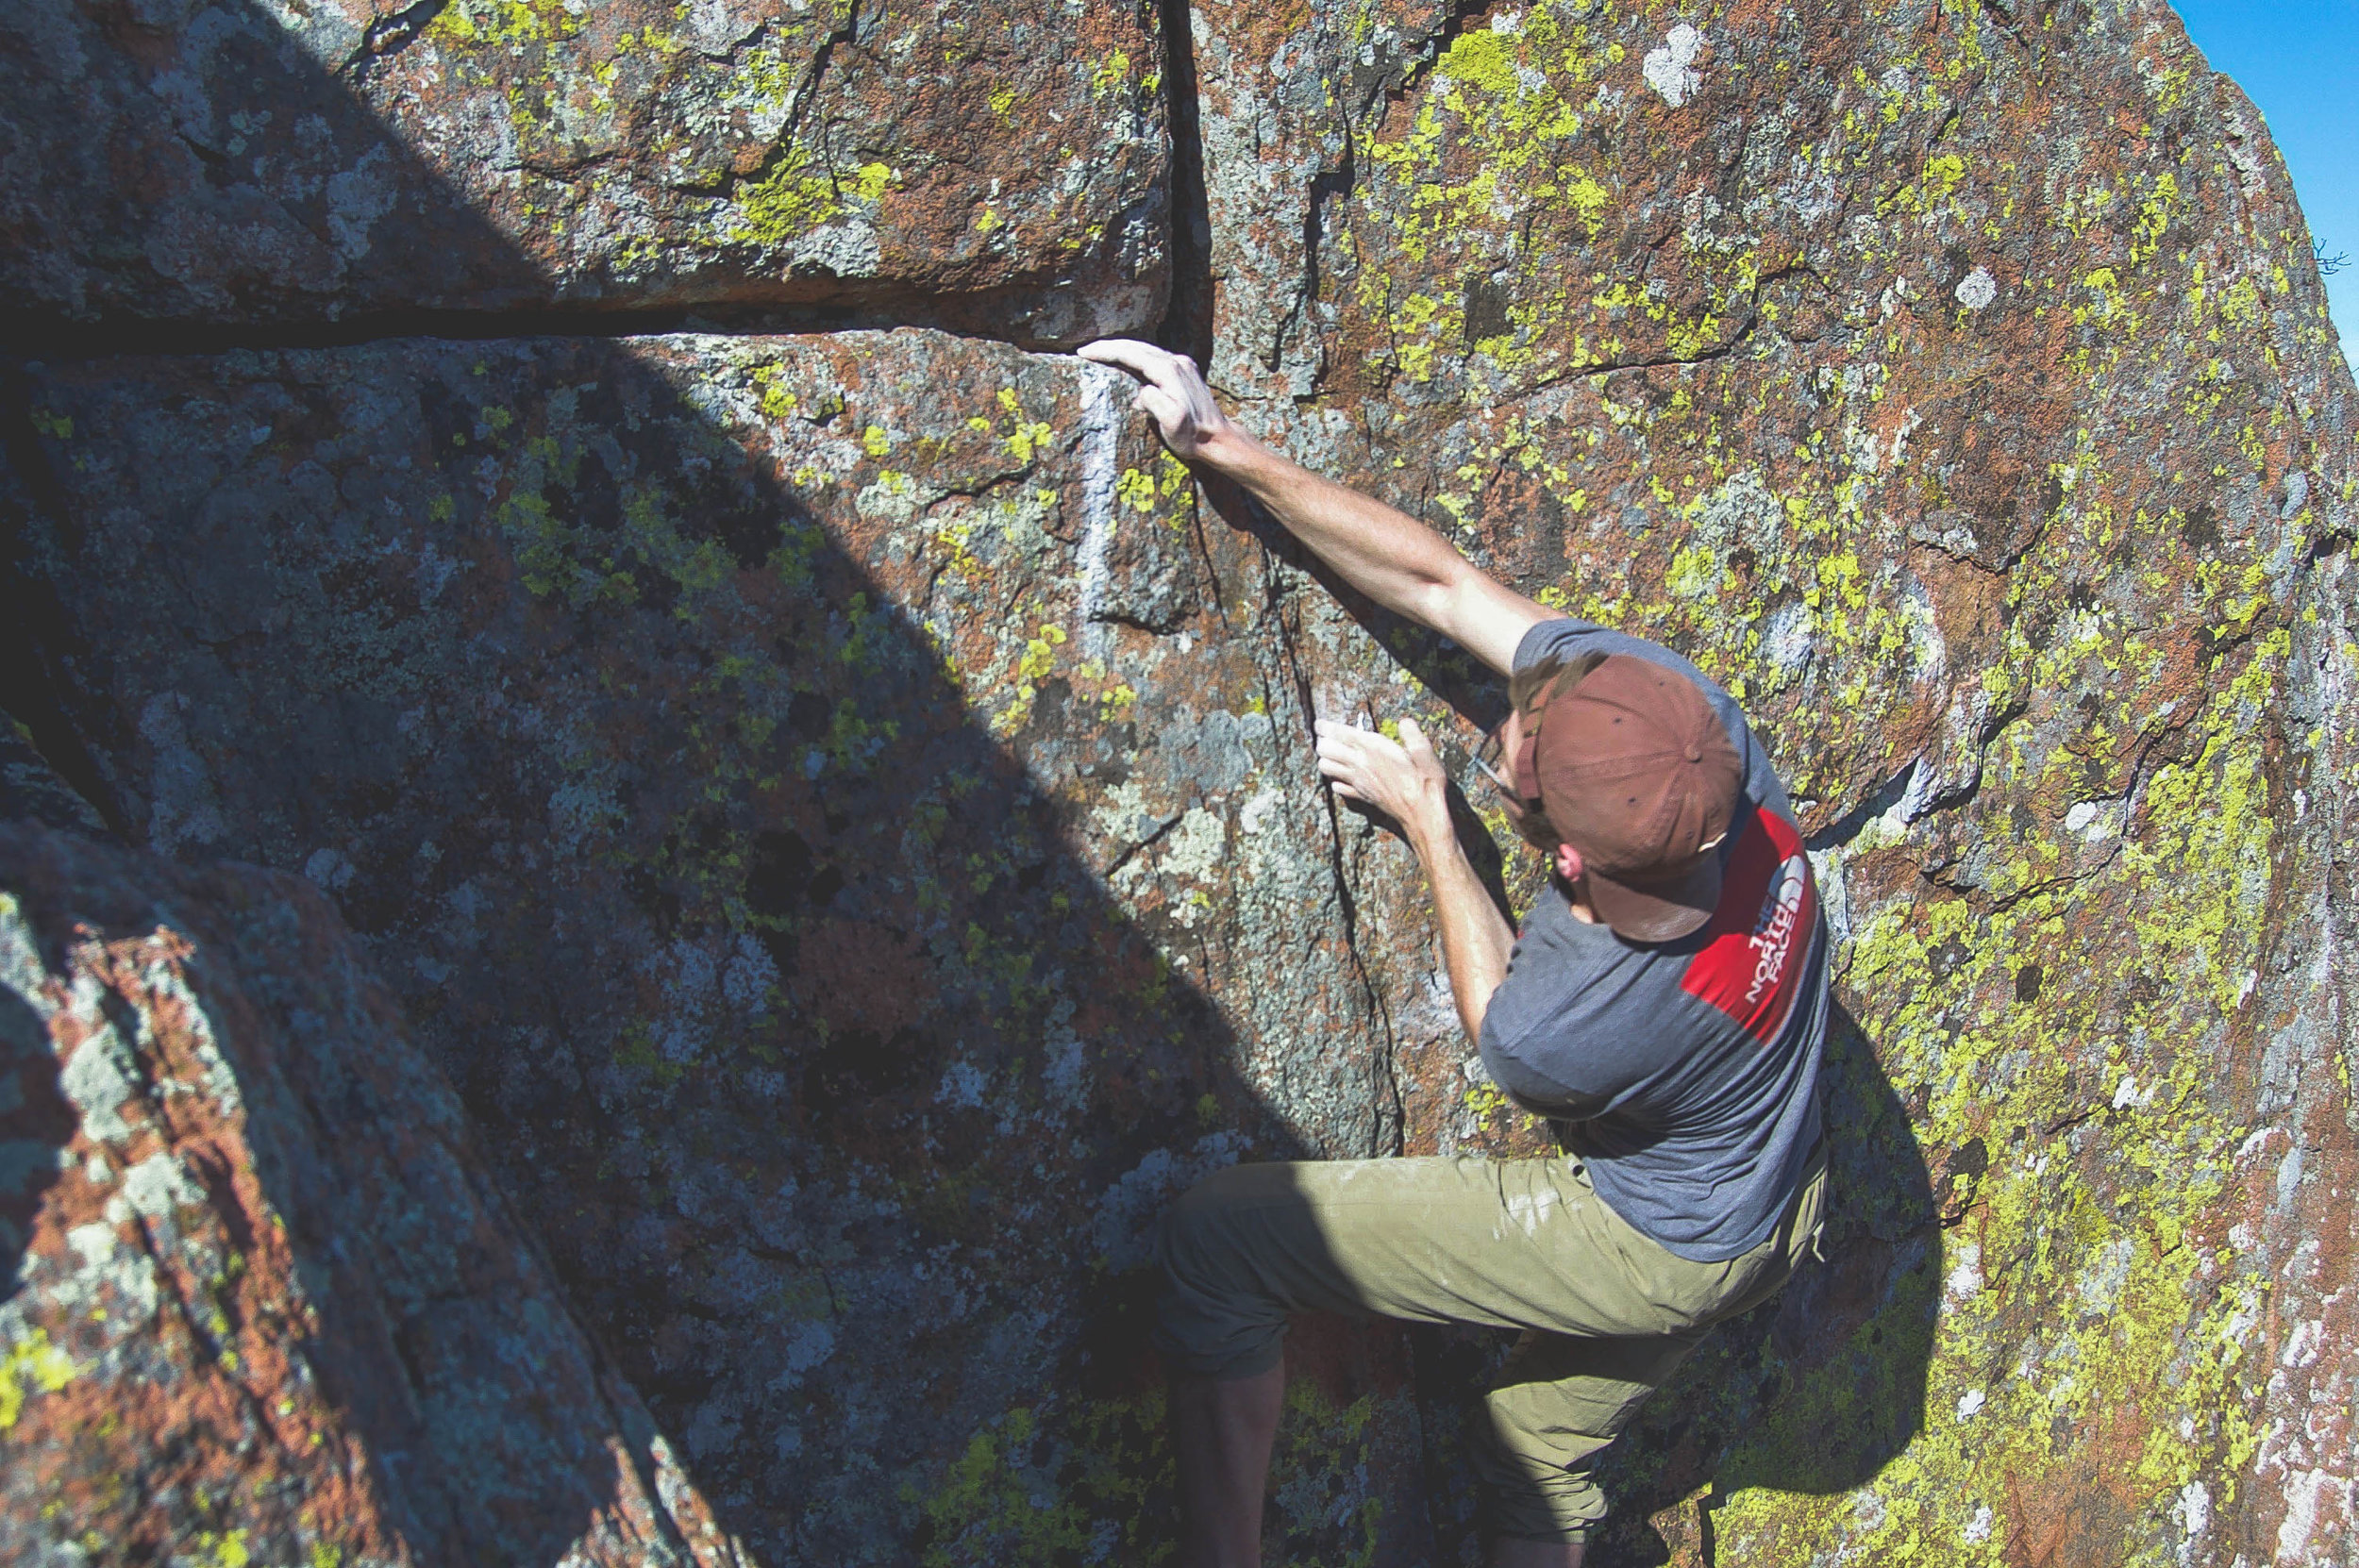
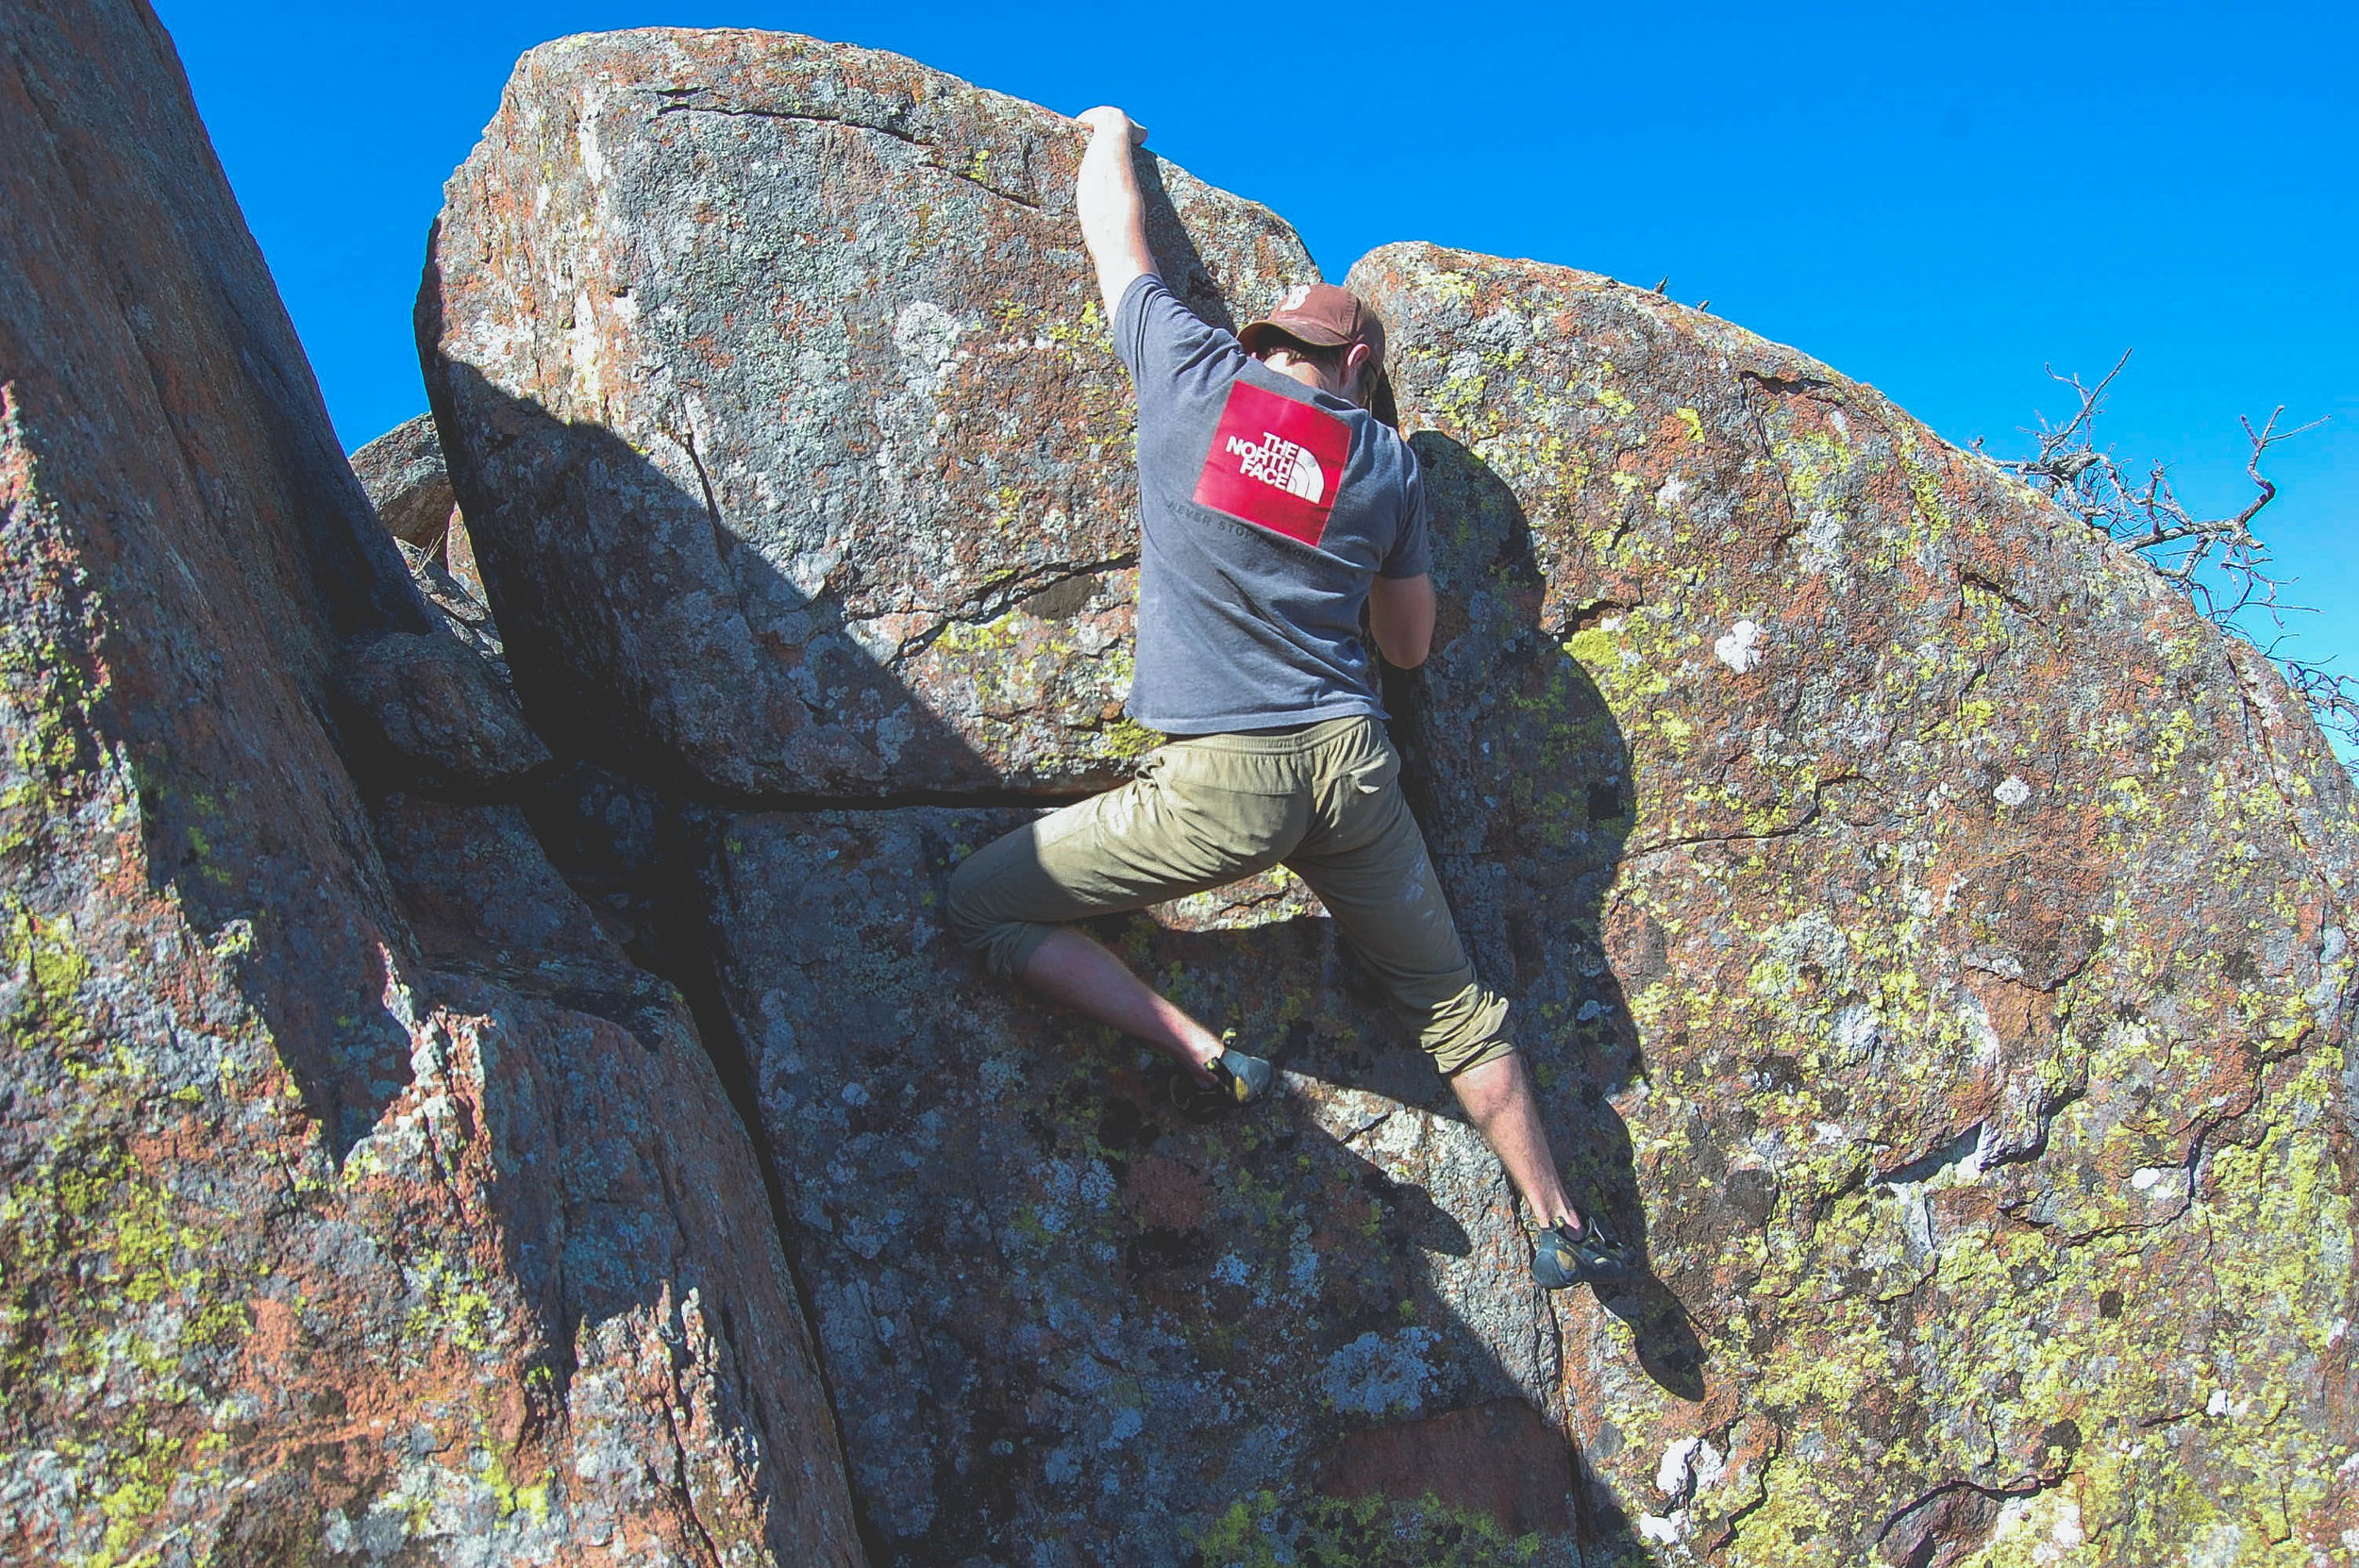
The third Climb on "The Rook" boulder is on the backside in relation to the first two, distinguishable by the pronounced low ledge. The climb starts sitting on low smear feet and hands on a sloper-crimp left hand up high and a right on a lower crimp. You work your left hand out further onto the downward sloping ledge, matching it while throwing a high heel hook, then throw your right hand up to a pretty decent side pull, finishing with a left hand at the top of the climb. Jack would get the FA on this one as well and named it "Ladybug Central" based off of the insane amount of lady bugs living behind a gigantic flake we pulled off. The climb went at V3.
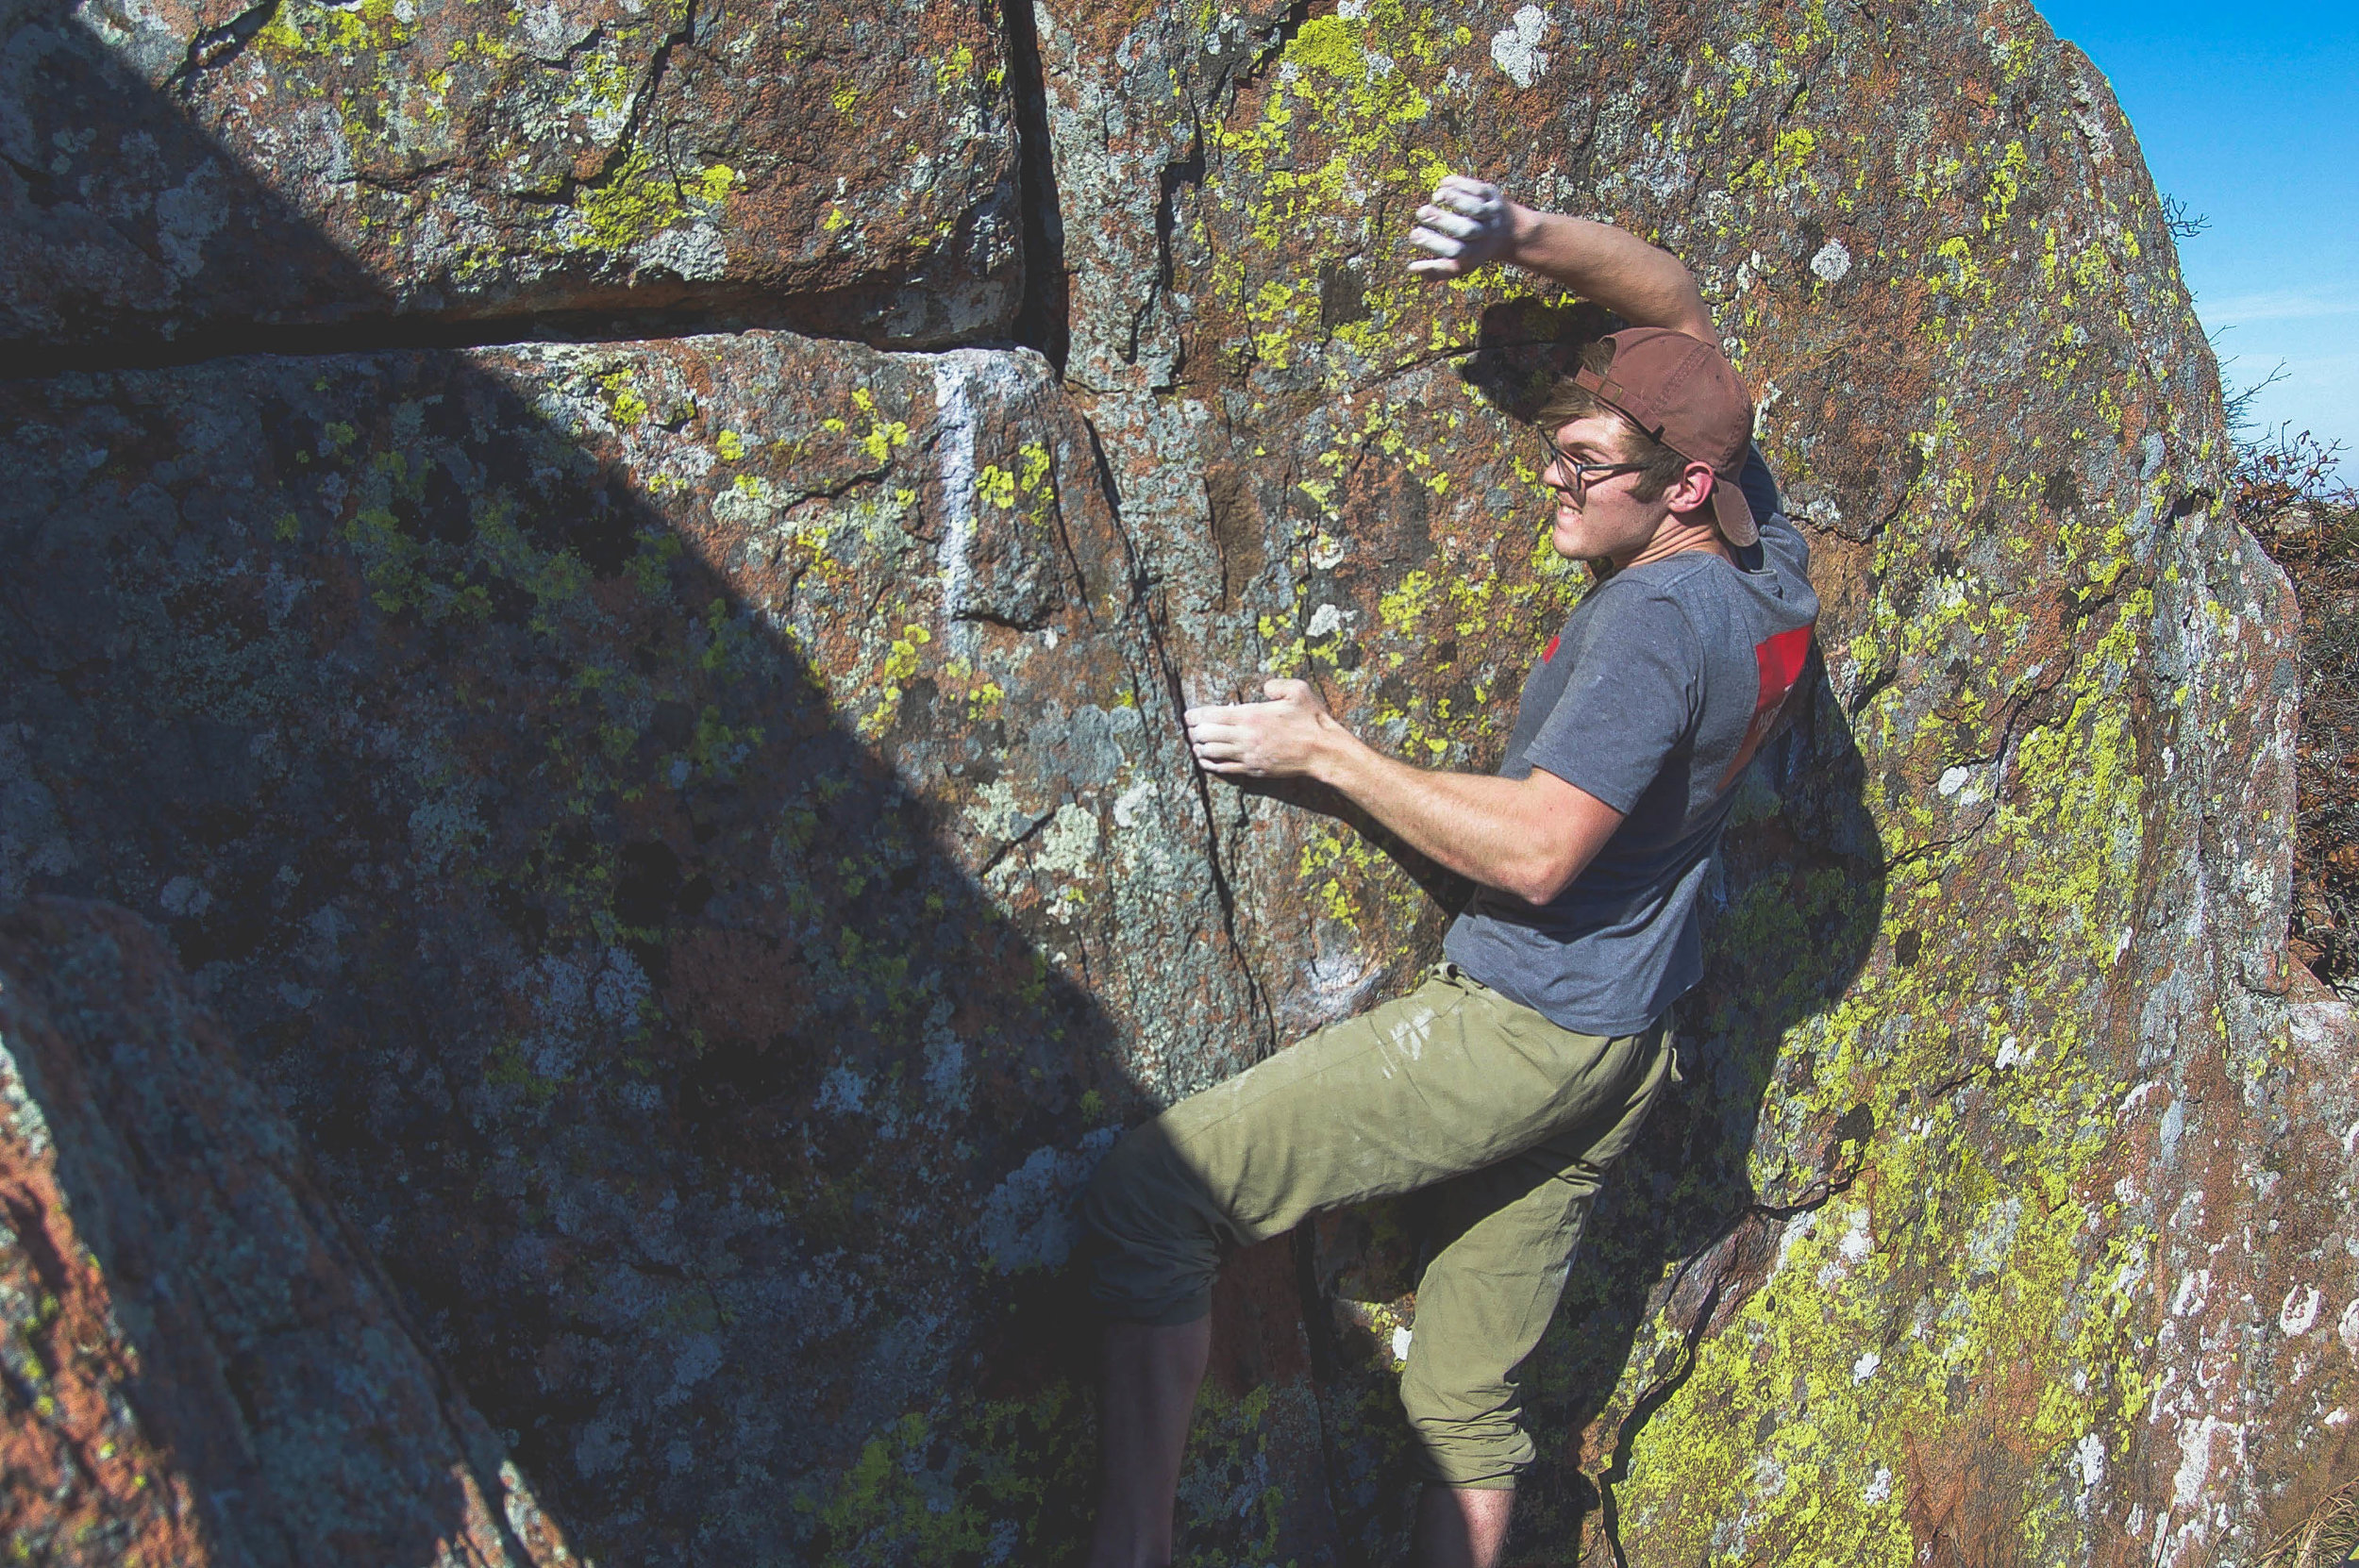
At this point we had realized we miscalculated the amount of water we would need for 4 people and accidentally consumed all of it... This compounded with the fact we had not eaten yet the dudes were leaning towards heading back down the hill. Sadly for Jack, Moe, and Evan, I had my eyes on these two protruding boulders a few hundred feet up the Mountain all day, and I was going to climb them damnit! So I forced us further up the Mountain side, luckily it would pay off with the best climb of the day.
We get to the area I had dragged us to, and we see a green speckled flat face that I think spoke to Evan and I from the distance, whispering "Climb me"... in a non creepy way.
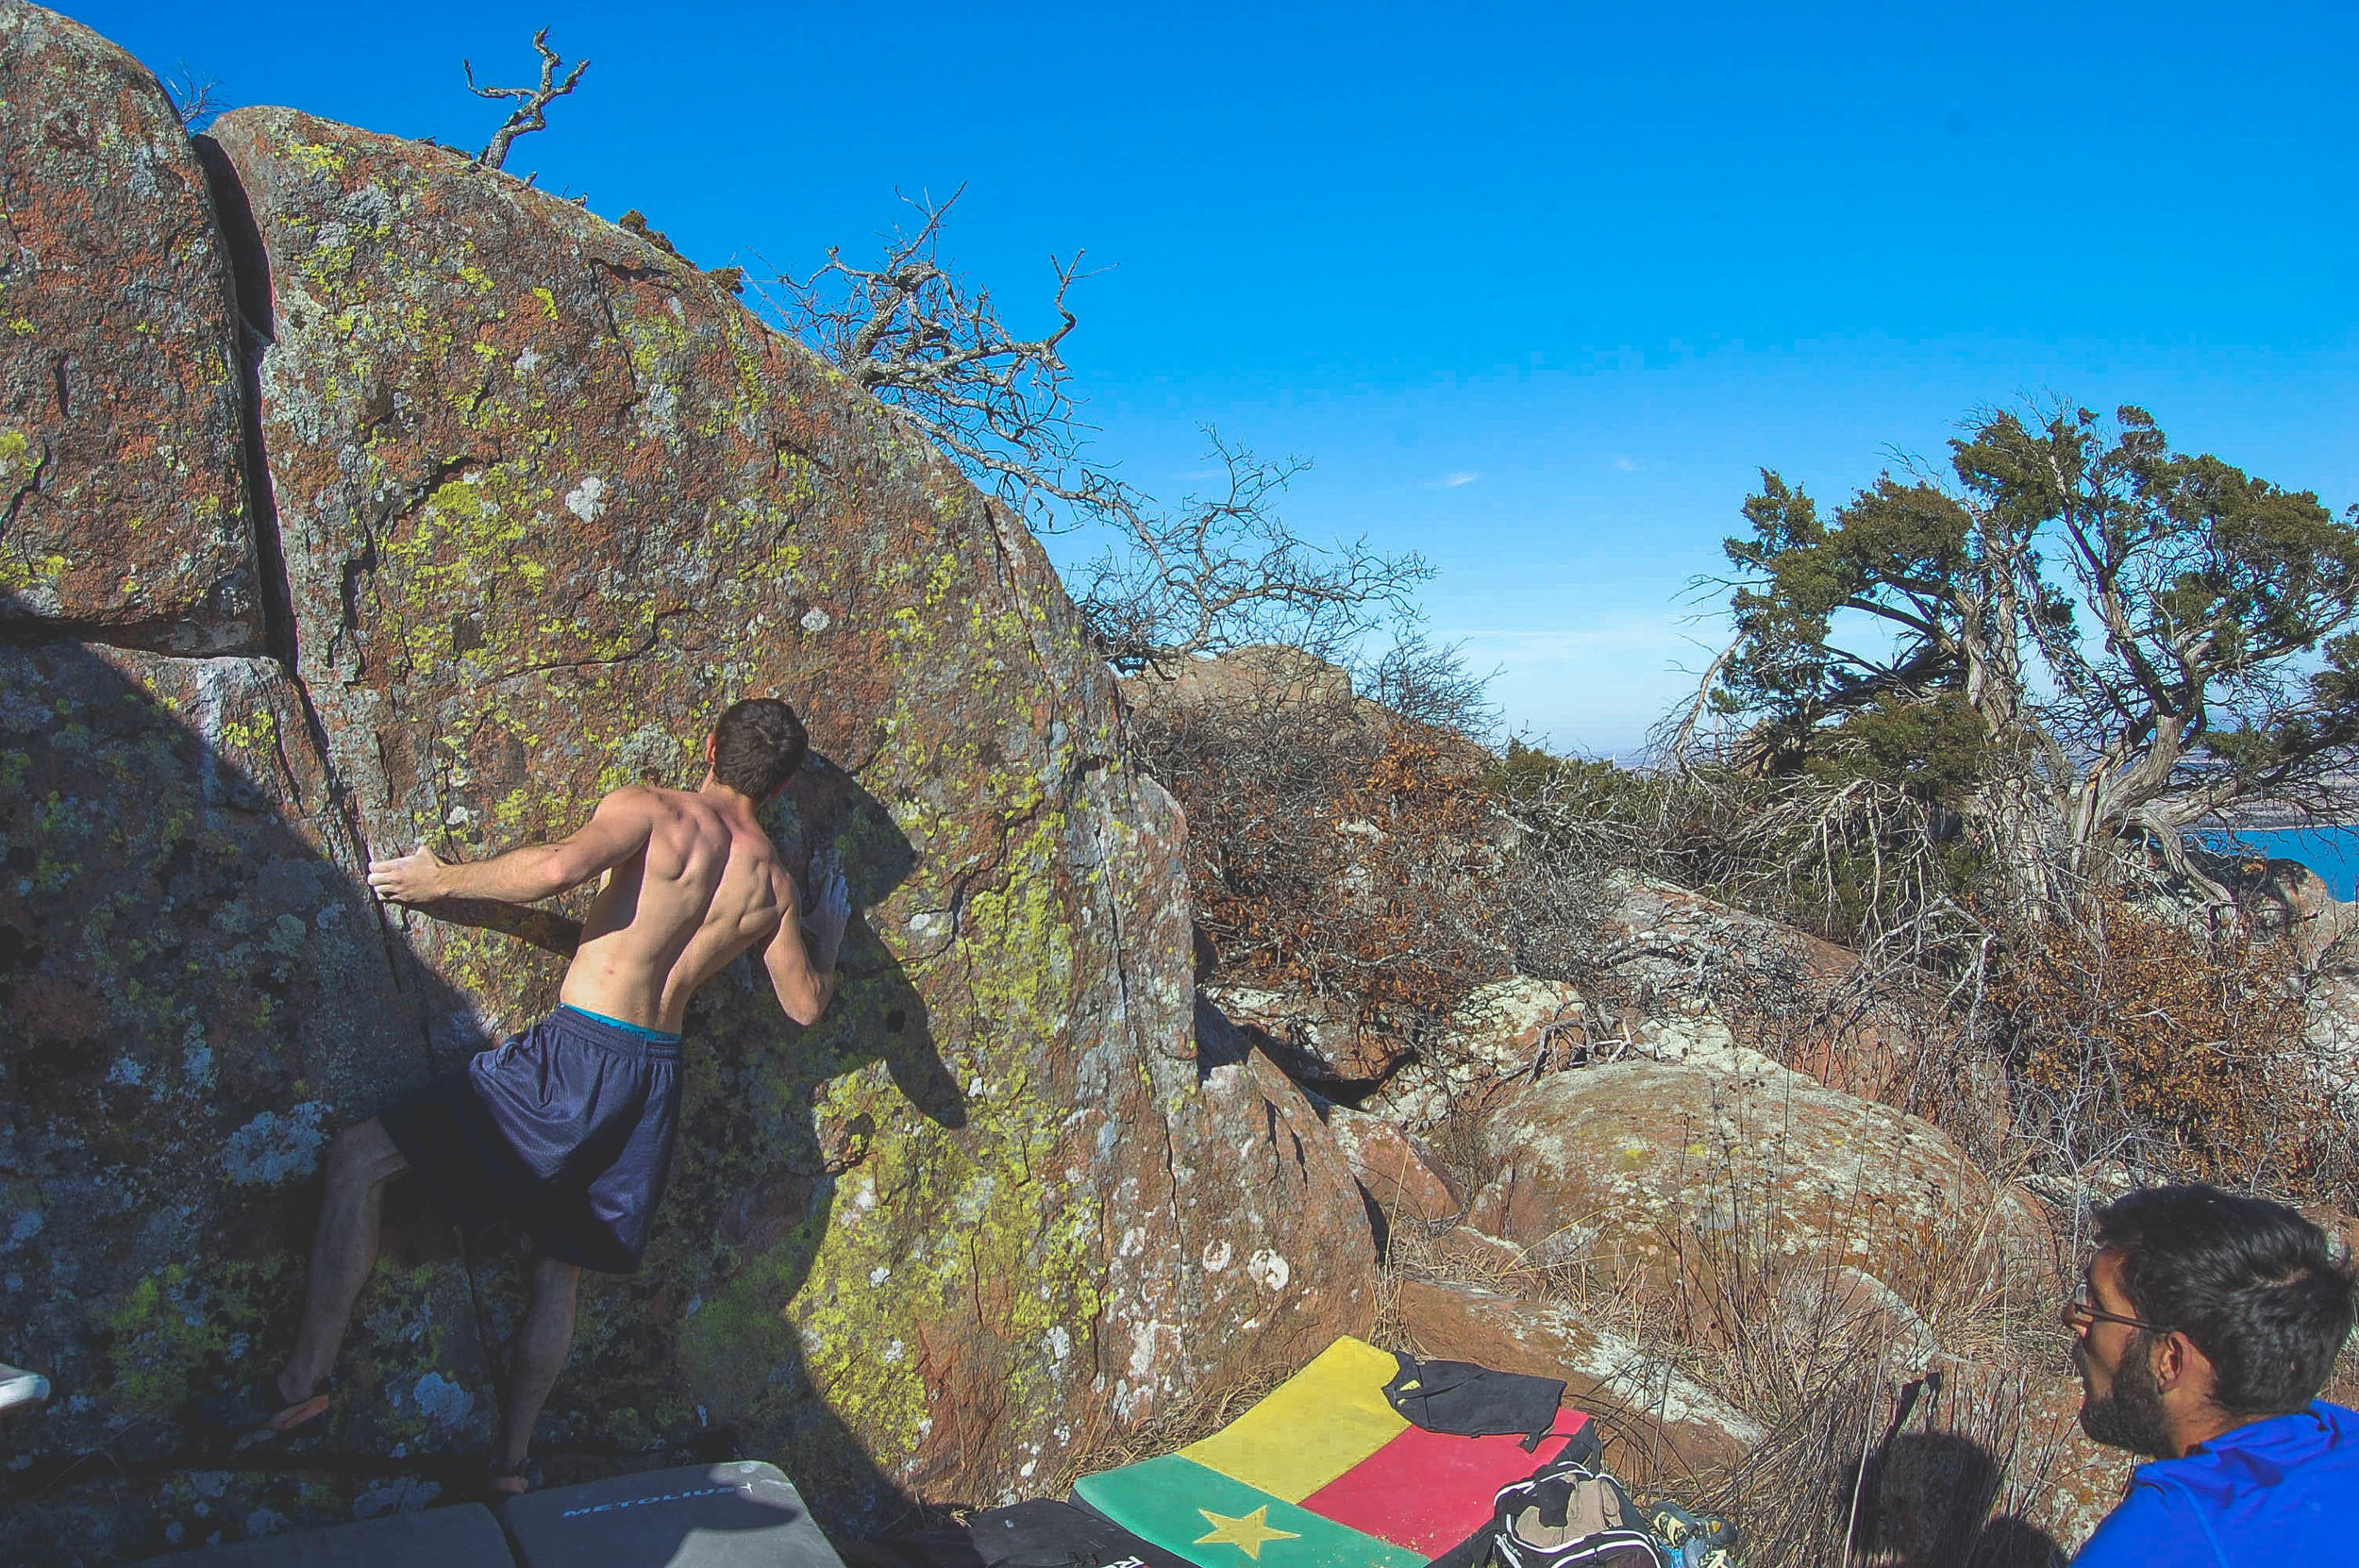
We set up our pads under it and get working on the beta for this climb. The climb starts hanging low on some decent sloper hands, followed by bumping a right hand up and bringing your feet up to the start holds. You do a fairly large reach to a left hand side pull located in the middle of the boulder and walk your feet down to the bottom of the boulder. This part would be our first "Crux" as we couldn't figure out a way to go past the left hand side pull as there was nowhere to put our right hand on the face of the boulder. We tried matching the side pull, throwing an insanely low undercling, even toe hooking the start of the climb in an attempt to gently place a right hand on a garbage crimp. Luckily for us in all our attempts to figure the route out, we broke off a decent sized flake and it made exactly what we needed...a right hand crimp side pull. It wasn't much but it was all we needed, We grabbed the left hand side pull and brought the right hand down to a crimp about shoulder level. Then we entered into the 2nd Crux zone.. the GIGANTIC right hand cross to a sloper. Unlike the last issue, we weren't struggling with lack of holds, rather a lack in technique that required us to get smarter in order to complete the problem. We walked both feet further over left following a low crack and bumped our left hand to a sloper side pull, setting up for the crux. Bumping right hand into a "Gaston" on the originally left hand side pull and then throwing for the far right hand sloper. After about 5-10 attempts each we finally all nailed the move and topped out the boulder easily. Super rewarding to discover a beautiful boulder, figure out that it has a climb on it, and then project it into submission. Evan got the FA and named it "Life Force" and we decided to rate it V5-V6 since it was right on the edge.
All in all we had an excellent day bouldering, better than I think we all expected. There are zero boulders established on Mt. Scott itself meaning everything we climbing was a legitimate First Ascent. The community usually expects super strong crushers to go out and establish routes but they forget about the lower end routes that get established by regular dudes. Jack, Evan, and I all climb roughly V7-V8 in the gym, by no means "expert" or insanely strong at bouldering. I encourage anyone who wants to go out and try out our boulders to do so, message me if you feel like you need a better idea of where they're located and I'll give you some good directions on how to hike up to them.

The crew feeling tired and satisfied after the full day of bouldering.
Evan also made a pretty great video of our short trip and you should check it out!

